Categories
beauty Hair tutorial Uncategorized

The Poof

vintage_gucci_bagvintage_gucci_bag

How to “poof” your hair without looking like Snooki. 😉

(the #’s correspond to the product list below)

  • Curl the bottom of your hair with a curling iron (#1), just for a slight curl (not necessary but I did for this look)
  • Using a rat tail comb (#3), divide the section at the top of your hair that you want to poof.
  • Spray that section, with dry shampoo to give it some texture.  I used this one which was gifted to me by Salon Grafix (#2) and it worked really well.  (as a side note, this dry shampoo does not work well to absorb oil for a “non hair wash day” but works great as a styling product – in my experience at least)
  • Tease the part of your hair – with the rat tail comb (#3) – that you want to pull up, paying attention to the underlayers to give it a bigger poof.
  • Clip the sides back with bobby pins (#4) at a slightly high part at the back of your head
  • Using a round barrel brush (#6), smooth out bumps and pull sightly to give the sides a bit of a poof.  I find that the round barrel brushes are easier to do that then a regular brush.
  • Gather the middle part that is teased and bobby pin to the same area as the sides are clipped to
  • Use the same comb (#3) that you tease with, gently pull out more hair, the more you pull, the bigger the poof will be so make sure not to pull too much!
  • I used about 6 or 7 bobby pins to hold up my hair so don’t be afraid to use as many as you need to make sure it’s secure!
  • Comb out your bangs and then use a bit of hairspray (#5) to hold everything together and you are good to go!
  • Add an “accent” bobby pin (#7) for some sparkle to your hair!
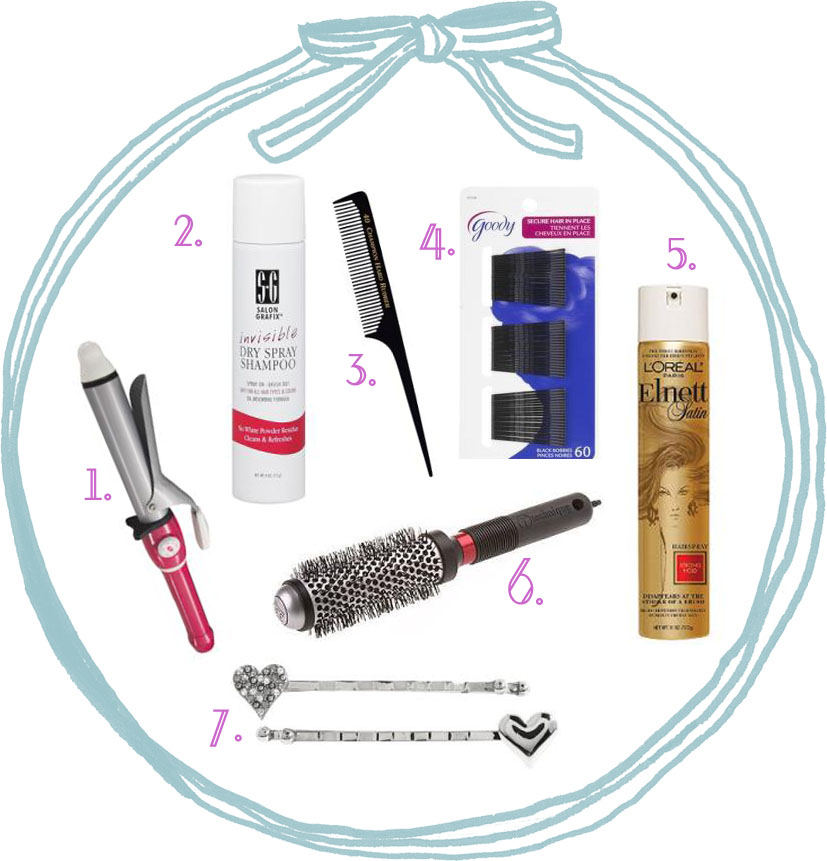
Products used:
1. T3 Bespoke Labs ‘Twirl’ Curling Iron (1 1/4″)
2. Salon Grafix Invisible Dry Spray Shampoo
3. Champion Rat Tail Comb 8″ Edged Back Wide Teeth
4. GOODY Bobbypins
5. Elnett Satin Strong Hold Hair Spray
6. Technique Thermal Round Brush with Tourmaline
7. Marc by Marc Jacobs Love, Marc Bobbies Hair Accessories

vintage_gucci6
    Categories
    Hair Uncategorized

    All About Hair!

    I get lots of hair questions, so thought I’d do a post on my favorite products and how I manage my hair.

    A few facts about my hair:

    • I’ve never dyed my hair, ever.
    • I’ve been growing out my hair since before my wedding when it was around shoulder length so about 2.5 years now, with 1 inch trims at about every 3 months
    • I’ve had 2 digital perms (a little less than a year apart) and probably due for another one
    • My hair is super annoyingly thick so I have to get it thinned out every few months.
    • My hair has become drier since the digital perms and I tend to get more split ends now.

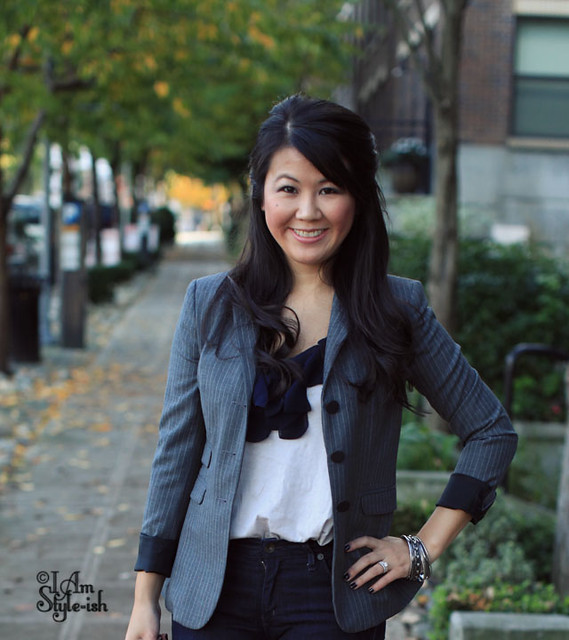
    So, everyone wants to know if my hair comes out like this because of my digital perm.  The answer is, No, but I wish it did!  What the digital perm did is give my hair texture and the ability to hold a curl.  When I don’t curl my hair and use a diffuser to blow dry my hair, it comes out more wavy than curly, like in this lookbook.  To get these curls, I use this curling iron (which you can read about the other tools I use in this hair tutorial)

      hair2hair3

      All photos below are clickable and will take you to their respective links to buy!
      I’ve tried several shampoos and my hair seems to like Bumble and Bumble the best.  I like this gentle shampoo as I don’t need anything too harsh on my hair since it’s generally pretty healthy. 
      I also really like using this Sunday shampoo to get that really clean feeling.  They call this shampoo a “detox” which is a great word to describe it.  You can really tell the difference when you use this, it gets super sudsy and just feels like it’s getting all the product residue out of your hair.  Hard to explain but once you try it, you will know what I mean.  I use it only once a week or once every other week depending on how hard I was on my hair.
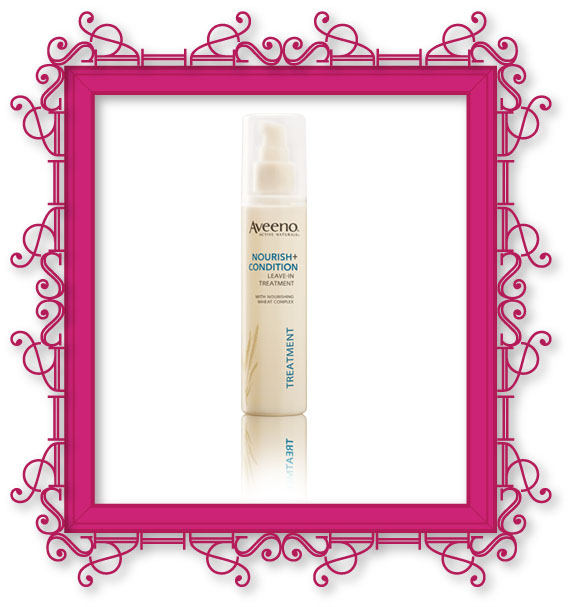
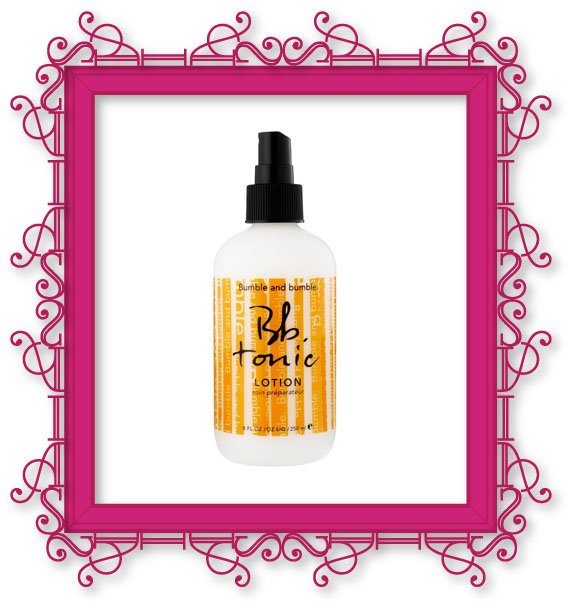
      After my shower while my hair is wet I like to put in one of these two sprays to keep my hair healthy.  I also think it helps keep it full because if I don’t use it, my hair tends to get a bit limp.  I blow dry my hair after I spray these in.
      When I want to curl my hair with a curling iron, I prep my hair with this Curling Lotion (it’s called lotion but it’s really a spray) from Lucido L, a Japanese brand.  I buy mine at Uwajimaya (a Japanese grocery store) but I hear that you can get it at a lot of Asian type of markets.  I haven’t seen it elsewhere in Seattle though.  I really like this spray because I think it really helps curl my hair yet it still leaves my hair very soft to the touch.  It’s like hairspray without the stiffness.
      Also from the same line, I use this hair cream to smooth my hair after styling.  It’s really lightweight and doesn’t leave my hair greasy feeling like some hair creams can.
      When I don’t want to curl my hair, I spray my hair with the Tigi Curls Rock spray before I blow dry to give it some texture.
      When I’m not working out every day, I’ll only wash my hair every other day (sometimes even 2 days).  I hate washing my hair every day just because it actually makes it harder to style and manage when it’s squeaky clean.  It’s so true that dirty hair is easier to style.  On some of the days where I feel like my hair feels a bit dirtier, maybe from product build up, I just put a bit of dry shampoo in and my hair instantly feels cleaner.  I’ve mentioned this Stila Hair Refresher before and I want to note that I’ve used many dry shampoos since but none that I have liked more than this product.  It’s just the right consistency and has a delightful fragrance.  Also, a trick I use is when I want very voluminous hair like you’ve seen here, a bit of hair powder really helps your hair stay “big” after teasing.
      So there you go, my “dream team” of hair products.  I experiment a lot and am a sucker for new products so I do try out a lot of new sprays/lotions/creams, etc… but those above are the ones that have really stuck with me for the past few months, years even, that I really like.
      hair

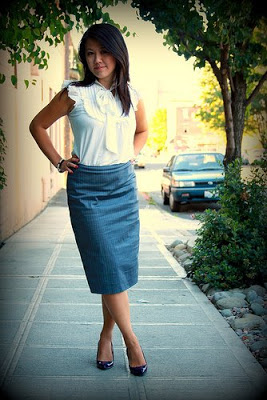
      In the pictures above I’m wearing Elizabeth and James blazer, Forever 21 top, Earrings by Marika King.
      Categories
      digital perm fashion Hair lookbook louboutin Uncategorized

      Lookbook: Working Girl

      I work in the big bad corporate world and I’m in an industry where you don’t see much creativity in the way people dress. We don’t have a dress code at my company, so I could show up every day in jeans if I wanted to, but you know me, that’s not my style.

      Dressing professional does not mean sacrificing style. I like to take items that would typically work in a corporate world but add my own twists to it. I adore this tweed dress. It’s got cute cap sleeves and the pleating down the front is just the right amount of detail. It looks great on it’s own, but it was a bit chillier that day so I put on the cardigan and then wrapped the belt (which came with the dress) around both. The patent Loubs played off the belt, which finished the look. I wore minimal jewelry since the outfit had so much detailing with the belt, the pleating and the buttons on the cardi.

      What I’m wearing
      Dress: Mango
      Cardigan: Express
      Shoes: Christian Louboutin

      August 11

      August 11-2

      I’ve been on this Nicole Richie-esque braiding my hair kick. I’ve discovered that it is an easy way to keep my hair out of my face. I’m not a ponytail kinda girl so this is my way of pulling my hair back. It’s funny that I never thought of it before but I’m liking it now!
      August 11 Hair

      Categories
      digital perm Hair Uncategorized

      The Perm!

      I blogged about getting my digital perm two weeks ago so I wanted to show the results!

      I’m not a fan of just shots of my face. Am very self conscious of my extra round face, so you get the fully body shot. haha.

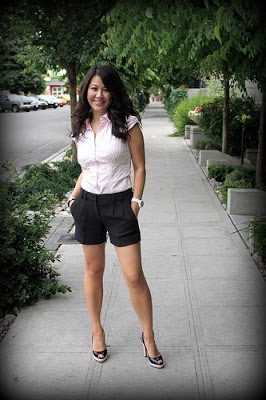
      Here I am the day before the perm. Not the best picture as it was after a long day of work but you get the idea of the straightness of my hair. I didn’t blow dry it that well that day but it usually is much straighter.
      This is the day after and how the stylist styled it.

      Here I am on Saturday, 4 days after the perm!

      I’m so happy with the results. It’s pretty much how I wanted it, but better because it is a lot easier to style than I thought. And when I wake up in the morning I instantly have glamorous, sexy hair. 😉

      The process took about four hours and the machine wasn’t as scary looking as the picture in my post. Basically, they put the solution in my hair, rolled it in the special curlers, attached it to the machine which got up to 85 degrees Celsius and then sat there and sat there, until the machine cooled down and then the stylist took them out and styled my hair. I couldn’t wash my hair or pull it back in a ponytail for 48 hours so I was very excited when I was able to wash it and style it to my liking.


      I bought this MOP (Modern Organics Products) C-system curl defining cream from the salon and love it. I put a little in before I blowdry (low setting with a diffuser bought from the salon) and then after when I style my hair. I can either make my hair have tighter curls or bigger curls like in the picture above, depending on how I blowdry and style.

      So overall, I highly recommend a digital perm for any straight haired girls dying for big bouncy waves. Also, just a mention to Ten Pachi salon that did my hair. They were WONDERFUL. I had two girls working on my hair to cut down on the time and they totally listened to what I wanted and kept on checking on me to see if I needed more water or if I was comfortable.

      Now, all I have to do is to test this out with the makeup look I’m going for and a veil and see how it works out.

      Categories
      digital perm Hair Uncategorized

      I’m getting a perm!

      No really, I am!

      This is what most people think of when I say perm. I’ve had many a friend laugh in my face when I told them I was planning getting a perm for the wedding.


      What I’m actually getting is a Digital Perm. Digital perms were started in Korea and are very popular among Korean and Japanese girls. According to Wikipedia “A digital perm is a perm which uses hot rods with the temperature regulated by a machine, which has a digital display, hence the name.” The biggest difference between a regular perm and a digital perm is the texture and shape of the wave. Digital perms create lovely big curls/waves as if you’ve used a curling iron or curlers.

      If you recall, this is the look I’m going for on my wedding day.

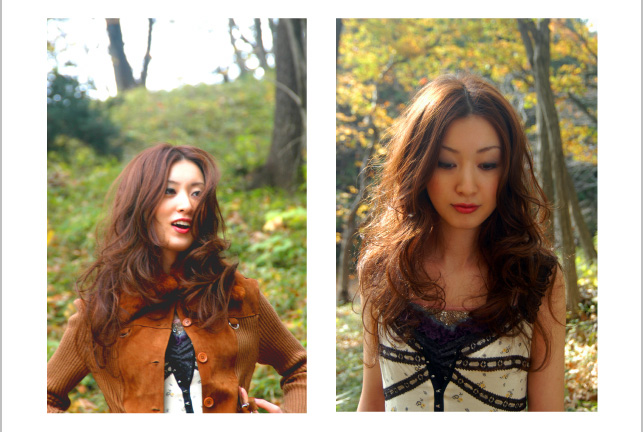
      Here are pictures of what a digital perm produces.

      Pretty darn close right? The reason why I’m not just going to rely on a curling iron is because my hair is so thick that it just doesn’t hold curl well. My hairstylist was the one who suggested the perm.

      This is the crazy contraption that I will be sitting under for 4+ hours!

      I will be going to Ten Pachi salon, they are the only salon that I could find in Seattle that offers digital perms. I think because it’s such a new thing for the US and because it’s much more expensive (I was quoted $90-$500!) than regular perms, not many salons offer this yet.


      Right now I have super straight hair as I got the Japanese straightening perm done awhile back. I’m excited to get my new curly hair. My appointment is next week so I’ll do a follow up post when it’s done!

      image 1,3,4,5 from google images (click on pictures to be linked to their respective sites)
      image 2
      The Superficial
      image 6 Ten Pachi