Categories
crafty-ish Cricut fashion Mommy and Me mommy style

How to make custom mama and me hoodies with your Cricut Explore 3

As a mama of two little ones, I am all about mommy and me outfits. My favorite thing of all is matching tees and sweatshirts and I love making them with my Cricut Explore 3. Kids in hoodies are the most adorable thing and something that we would get a lot of wear out of. I picked up a few hoodies for me and my girls and made some custom mama and me sweatshirts.

These are great to make for you and your kids but I also love to use my Cricut to make personalized gifts! Just a fun thing to keep in mind when you are wanting a unique and fun gift for someone.

How to make custom hoodies with Cricut Explore 3

Cricut Design Space makes it so easy as you can easily search through fonts and images. They make it very simple and easy to lay out your designs, change fonts, change sizes, anything that you need to customize your design!
I highly recommend getting the Cricut Access Premium subscription as you get unlimited access to over 100,000 images, 7,000 projects, and 400 fonts, 10% off physical purchases on Cricut.com, including machines and more! It’s helped me so much to create projects easily and quickly.

Get your Cricut Access Premium subscription here!

It’s really easy to get inspiration and ideas from the “projects” tab but I found the cutest “Mama” and Mini” designs when I searched under “image”. It was exactly what I wanted!

I have been loving my new Cricut Explore 3 and the Smart Iron On material. Not having to use a mat makes my projects go by so fast!

Materials to make Custom Mama and Mini hoodies

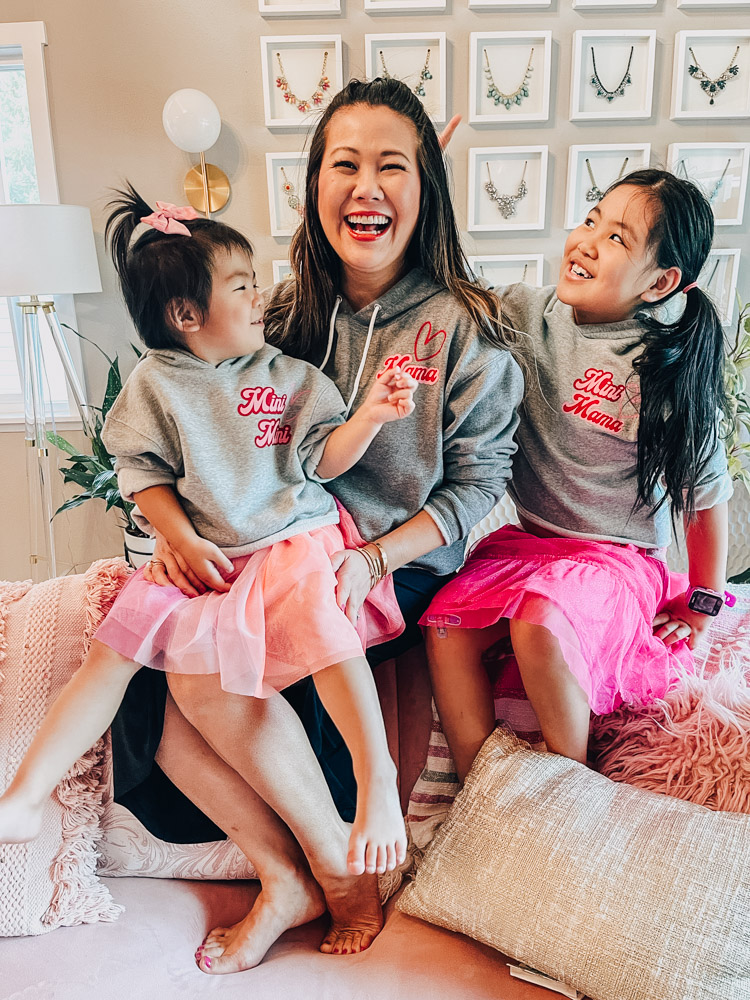
I decided that instead of just Mama and Mini on the hoodies that I wanted to make it a little bit more special. We often call my oldest daughter “mini mama” because of how much she helps me out with taking care of her sister. It was just perfect for her hoodie! And the little one got “mini mini” because she is literally a mini version of me and her big sister!
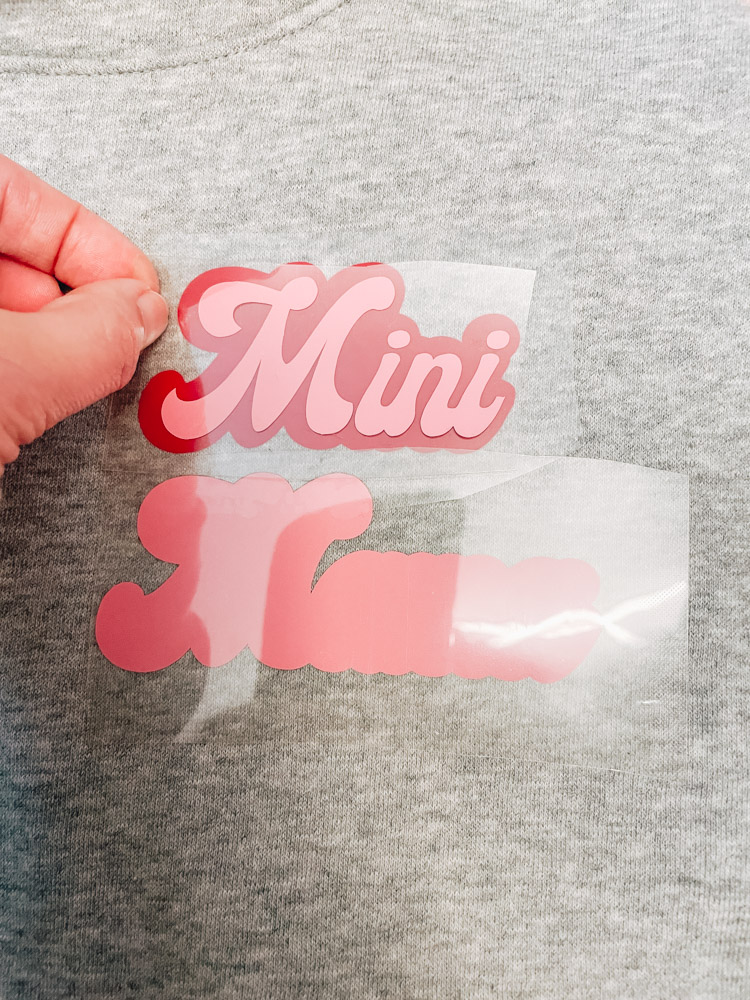
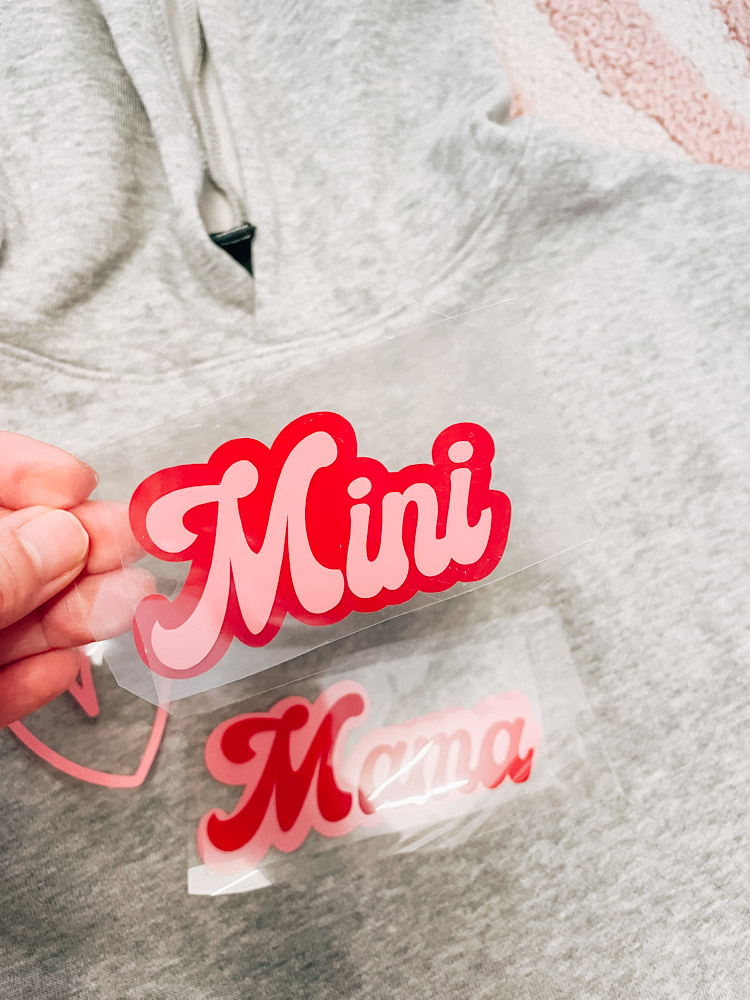
Once the Cricut cut out all the pieces, I laid them onto the shirts to see how they would look. I ended up adding a heart (also found in the images search of Cricut Design Space).

Just a reminder that the words look like just one piece but actually are two different layers, so you’ll need to press down each layer individually. I recommended lining it up on your shirt exactly how you want it before you heat press anything to your shirts!
Here’s how they turned out! Aren’t they so cute? I am so happy with how they turned out and the whole project took me less than an 30 minutes.

My girls and I love wearing out mama and me hoodies and we love that they are custom made just for us!
If you are new to using Cricut machines, this is a great project to start with! Since the “mama” and “mini” come as files that are ready to cut, you really don’t have to do too much with it except for size it to what you are putting it on.

I love sharing easy custom Cricut projects as it’s really become one of my favorite crafting tools. It can create things so quickly and easily but it looks so professional!

Check out my other Cricut blog posts:

The Ultimate Road Trip Survival Kits for Kids

Cricut Explore 3 Unboxing & Review
Categories
Cricut Kids sponsor

The ultimate road trip survival kits for kids

Let’s be real here, even a short car ride can be quite the adventure with a toddler, so even thinking of a long road trip is a thought I didn’t even want to entertain until recently.

But with summer here and wanting to take a family vacation, and now being road trip season, we decided to just go for it and head out for a long drive to somewhere fun!

If you are planning your next road trip with kids, you’ve come to the right place! Read on for tips on how to make the best car survival kits for kids that will keep them entertained for the long drive ahead and that the whole family will love!

This post contains affiliate links. By using my links to shop I may receive a small commission. Thank you for your support!

When we first started planning, I knew that I was going to have to be creative with the kids on how to keep them entertained especially on long car rides and to ensure that we would all have a great time, even in the car. I stocked up on a couple of coloring books, activity books, road trip games and even a DVD player, but it was getting a bit messy and unmanageable.

DIY Road Trip Survival kit for toddlers and kids

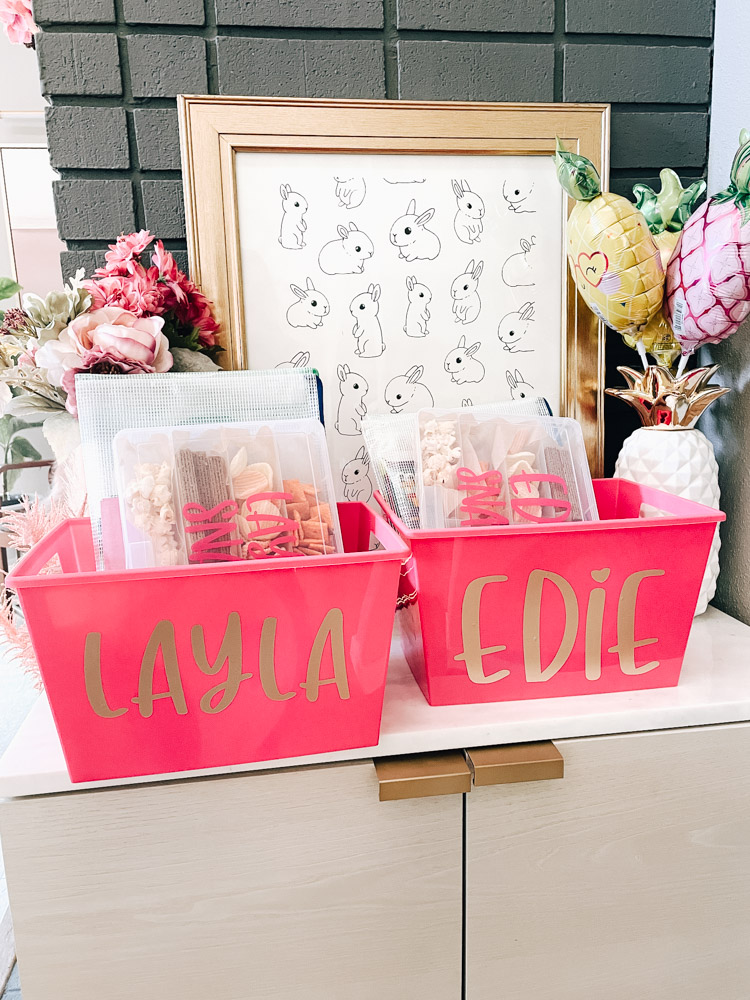
That’s when I thought of putting together a road trip survival kit! I wanted each girl to have their own box with toys, books and activities that suited their interested and needs but could also keep everything together.

I’ve definitely been in the position of not being able to hand things over from the front seat to the backseat as my car is big and my arms are short, especially with them still being in car seats. I thought it would be a great idea to give them something that they could easily access and manage, especially for the long drive.

Car survival kit Basics

I didn’t want to spend a lot of money so I stocked up on everything from the dollar store and amazon. I stuck with things that were small or easy to transport so like for notebooks and books, I looked for ones on the thinner side that would be easier for my little one to flip through.

I recommend getting a small plastic tub that will be easy for you to store in the backseat or an easy reach for you. And also for your kids to carry in their laps and be able to find things quickly.

These ideas are great for younger kids and older kids. Just buy items that each kid is interested in but you can keep the tubs/pouches the same. The best part is that you can really personalize each kit to each kid and with all of these things to keep them entertained it gives us moms a peace of mind that they won’t be indulging in too much screen time!

What to buy for your road trip car survival kit

  • Books – coloring books, activity books
  • Playing cards
  • Stickers, sticker books
  • Markers, crayons, pencils, pens
  • Travel journal
  • Art Supplies
  • Snacks

Personalized Car Survival Kits to keep kids entertained

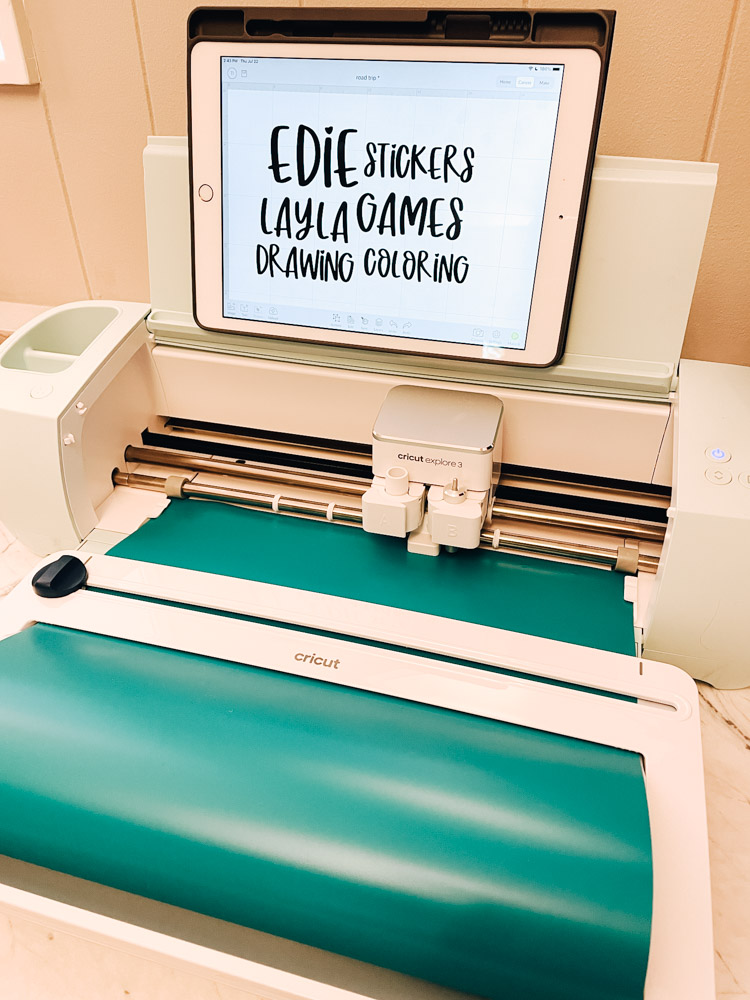
I thought it would be a fun idea to make each kit personal for both my girls, so I got my Cricut Explore 3 to make some labels for pouches and the tubs!

I separated out the items that would work for each girl. Since my oldest is really into drawing, I wanted to make sure she had her own pouch with just her drawing materials.

Some of the pouches were to share, like the stickers and coloring pouches but I wanted to keep everything labeled so that they would play with one pouch at a time and then when they were done, it would be easy for us to sort and put away.

Supplies to personalize your road trip survival kit:

How to make personalized labels using the Cricut Explore 3

For this project, I logged into Cricut Design Space and used the font “Honey Syrup”. I highly recommend joining Cricut Access so you can choose from 500+ fonts!

Type out the labels that you’d like and make sure to measure the items that you’ll be labeling so you can get the exact measurement that you will need.

Load the vinyl into the machine and let the Cricut do it’s magic!

Once it’s done, weed out the background from the letters. Place the transfer tape on top using the scraper tool. Then you’ll just place the label onto your items, remove the transfer tape and you’ll have your personalized pouches!

DIY Travel Snack Box for Kids

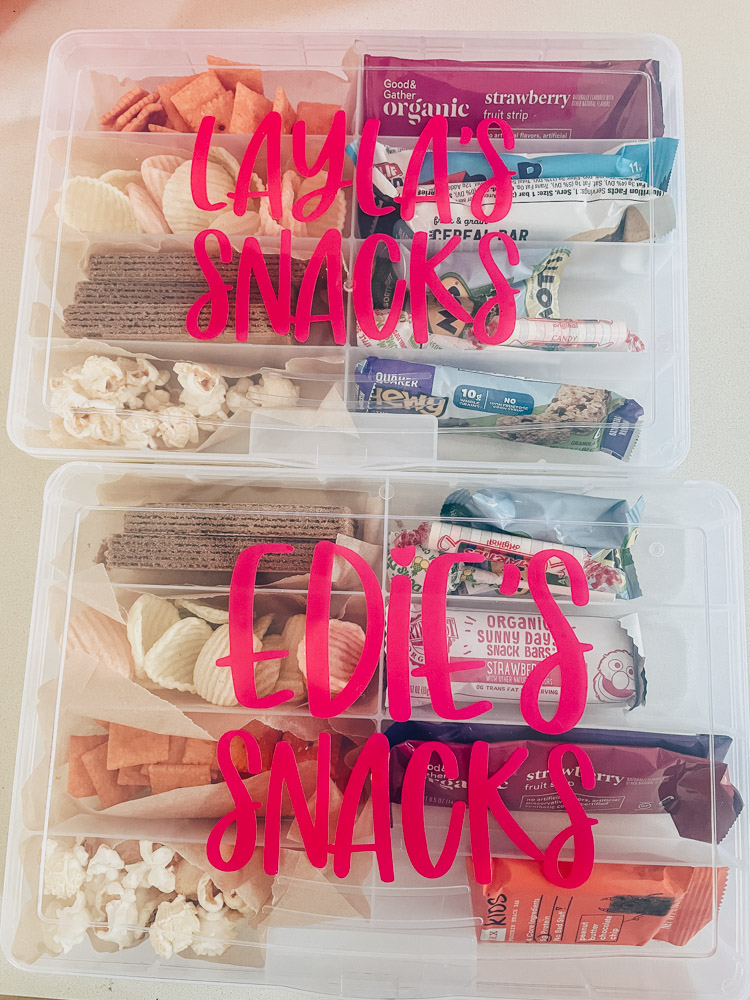
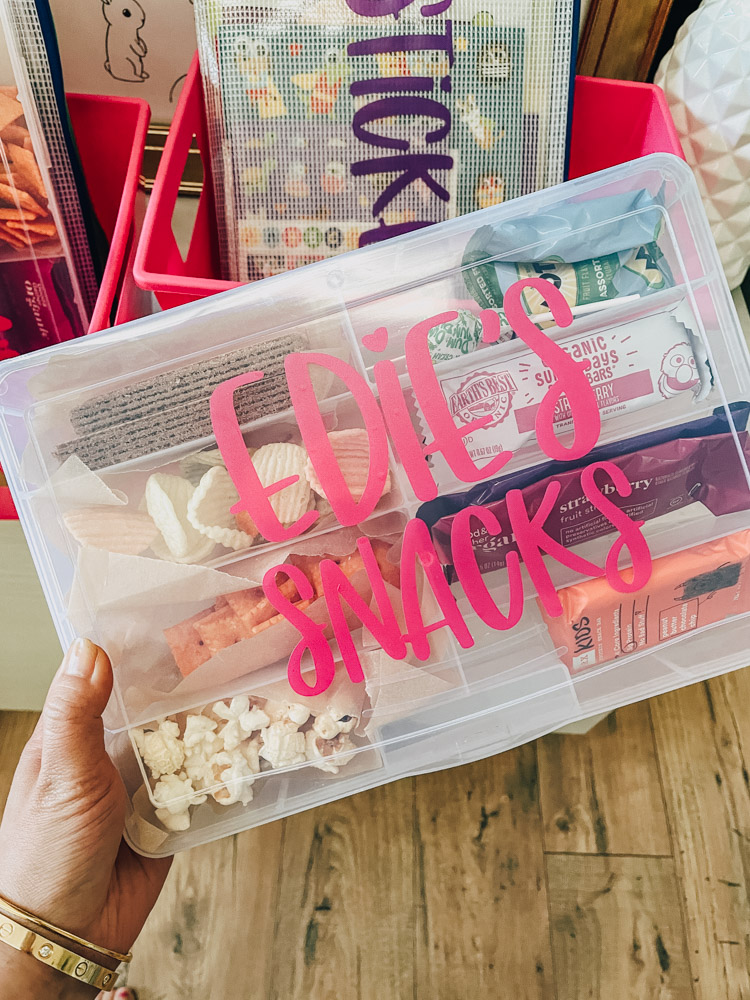
It’s not a road trip without road trip snacks! To keep from having to constantly open different bags and pass around snacks, I created a little snack box that the kids could easily open and snack on whatever they wanted!

This was actually my kids favorite things out of the whole road trip survival kit! They just loved being able to control which snacks that they could eat and not have to keep asking for different things.

It also made it so that they didn’t fight over things since they each had their own box!

I recommend getting some foods that are not in packages for easy access but I also recommend getting some food like granola bars or fruit snacks that can keep for a bit longer in case they don’t eat it all right away. It’s easy to pack snacks in a larger bag and do a quick refill whenever you need.

Don’t forget these family road trip essentials!

Other important things to include in your road trip, a water bottle for each kid, hand sanitizer, trash bags and a first aid kit! If you have a baby, don’t forget the diaper bag, changing pad and a travel pack of baby wipes!

I love having these little road trip kits for a 1 hour drive to even short day trips. If you are planning to stay at a hotel, these are great to take into the hotel room to keep the kid occupied as well. I didn’t show it here but because the tubs are big enough, you can also pack little toys for the kids that they can play with too.

This was such a fun project for me to make and so much fun for my kids! Now we are really looking forward to heading out and the girls can’t wait to try out their new road trip survival kits. I know that having these fun activities prepared for them, we are on the road to a successful road trip!

Categories
Cricut DIY fashion Kids Mommy and Me mommy style

How to make”Bored In The House” tee shirts at home

If you are on TikTok you are probably quite familiar with the “Bored in the house” song.

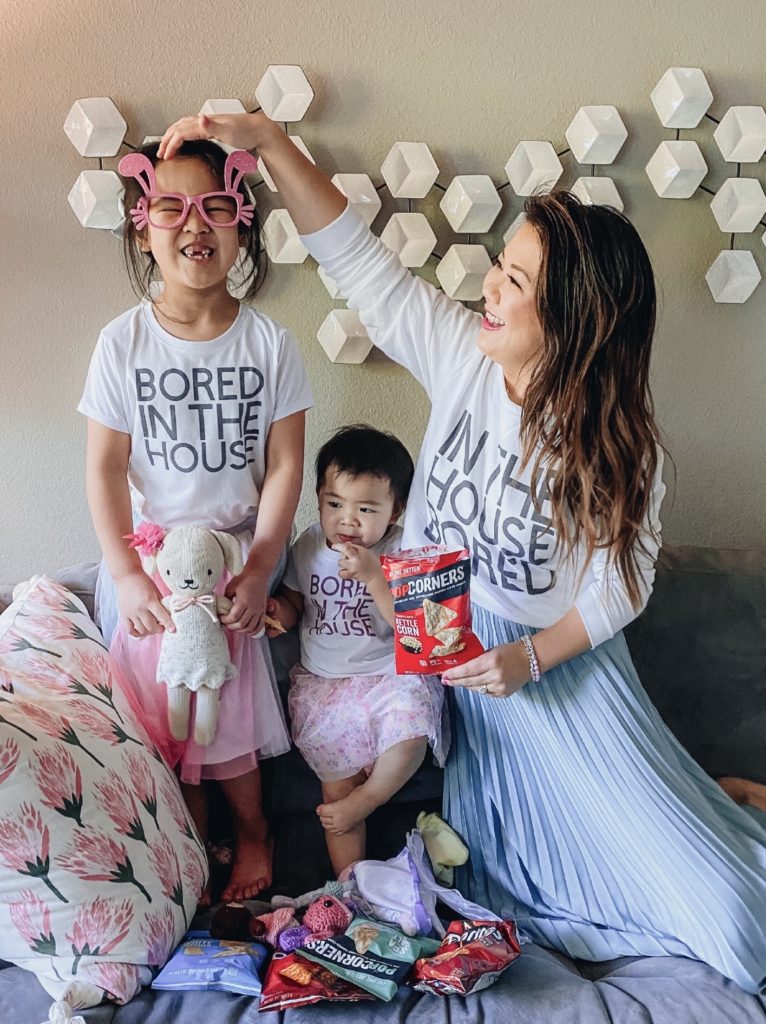
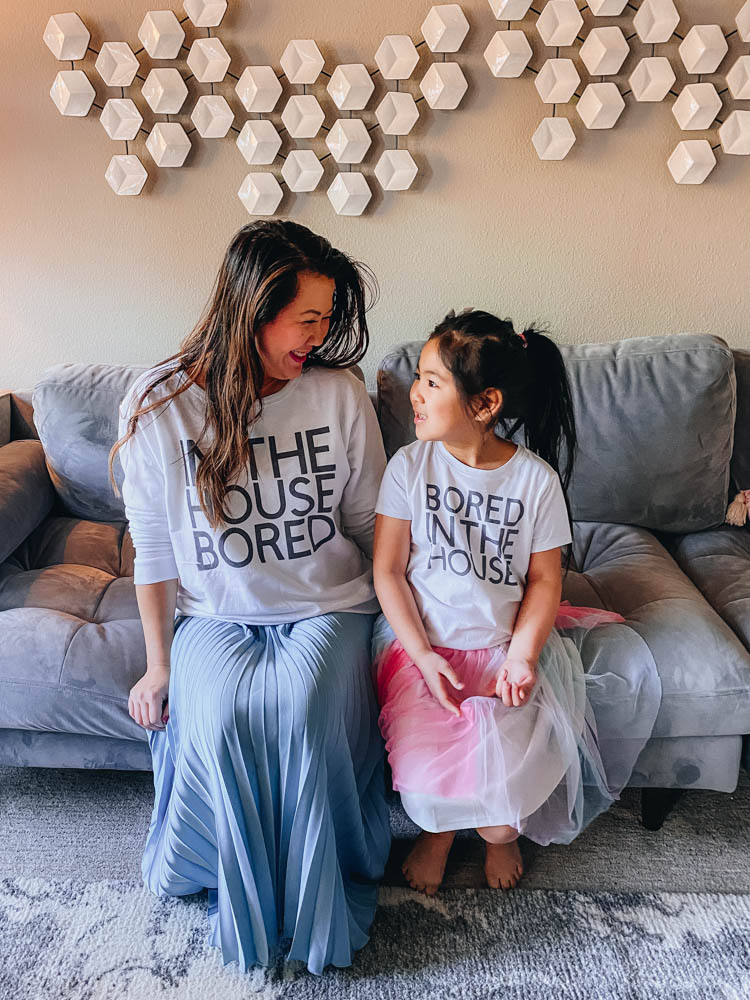
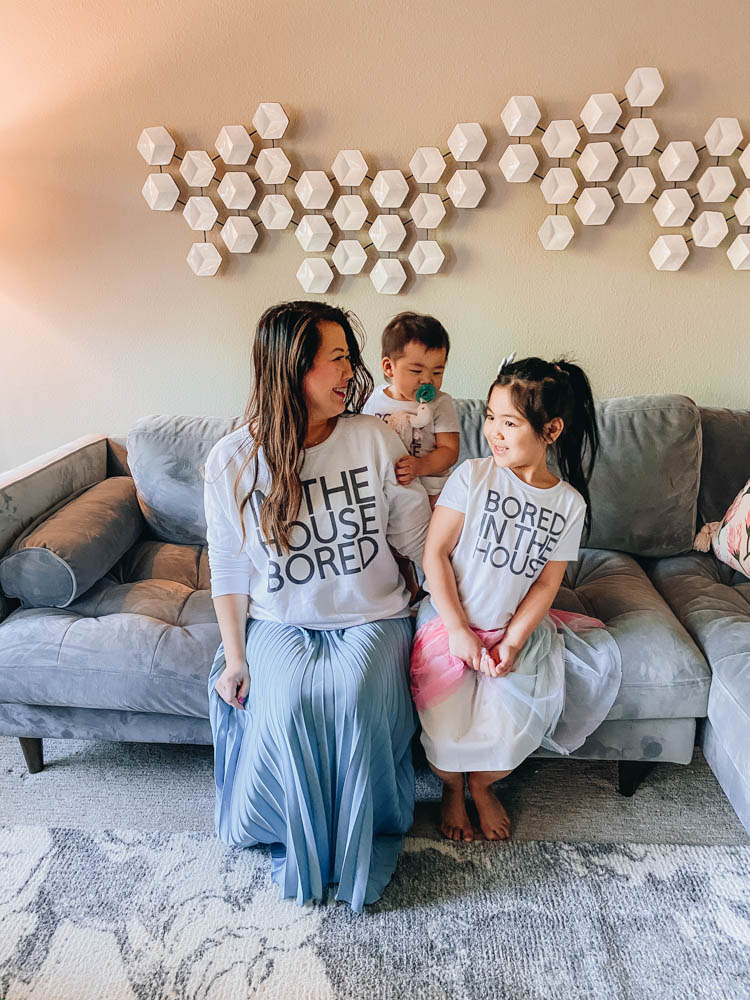
I got it stuck in my head one day and decided to pull out my Cricut Maker to make Bored in the House – In the House Bored tee shirts for me and my girls!

Bored in the house DIY tee

You may have seen this photo on my instagram. I got a few DM’s to find out how to make it themselves so wanted to share my design file.

Free “Bored in the House” Cricut Design File

It’s super easy when you use Cricut Design Space as you can choose your own font but if you want to use my file, head here for my Bored in the house Cricut file.

You can adjust the sizing easily to fit your size of tees. I did 10″ across for the mama tee, 7″ across for the child tee and 5″ across for the toddler tee.

Bored in the house DIY Cricut tees

If you’ve never made a tee with infusible ink, it’s super easy. There’s lots of great tutorials on youtube so check one out before you start! It really only took me about 15 minutes from start to finish!

How to make custom tees for women and kids on your Cricut Maker

  • Cut out design from Cricut Design Space to your Cricut Maker (or other similar machine)
    • You can use my file or create your own – Be sure to “mirror” the design
  • Once it’s cut, remove the negative spaces from the design – leave only the design that you want printed on the transfer sheet
  • Place the sheet on the tee where you would like the design.
    • I measure from armpit to armpit to make sure that the design is centered.
  • Using the Easy Press, heat up the design
    • Layer the butcher paper that comes with the infusible ink, over the design
    • Make sure to follow all the directions on using your iron or Easy Press 2
  • Take off the transfer sheet and your design is now on your tee!

My notes on using Cricut Infusible Ink

I have used the Cricut blanks that are made specifically for infusible ink and they do work best. The prints are very vibrant and bright.

I bought cotton blend tees and found that I needed more time with the Easy Press than what was recommended. So keep that in mind if you are using blanks that are not designed for use with your Cricut. You can buy the Cricut Blank tees and other materials on their site.

Don’t forget to swap the wording!

For the wording on my tee I just swapped the “In the house” and “Bored” from top to bottom so make sure to do that if you want your tee to have a different saying than your kids.

Don’t limit yourself to a tee shirt, you can use this on a tote bag or even use vinyl and put it on a mug!

Don’t miss these posts for more project ideas to do with your Cricut!

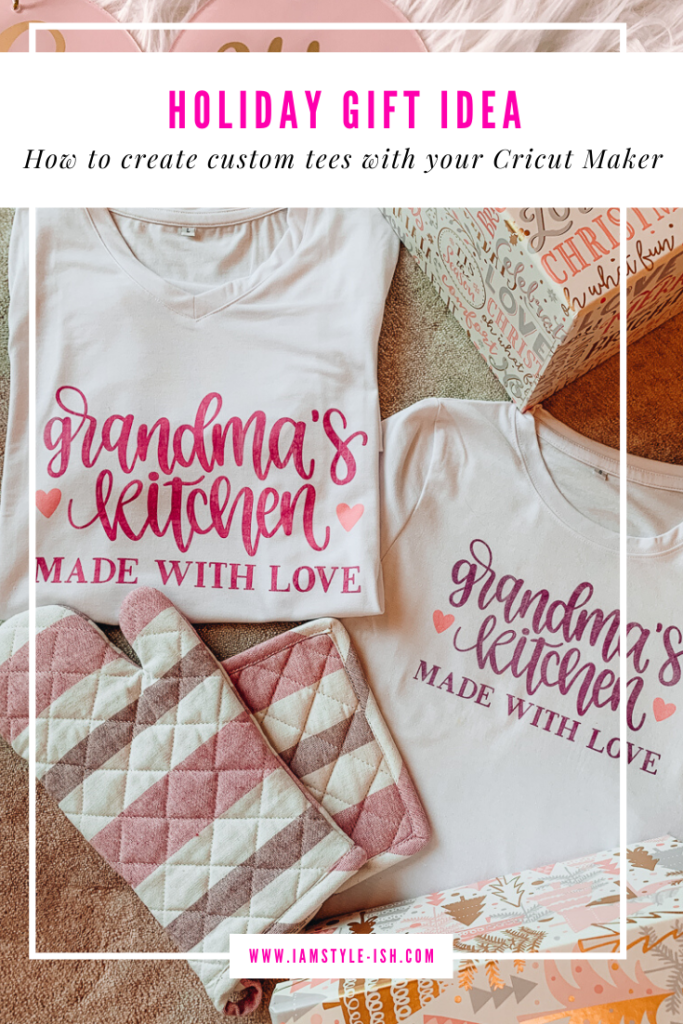
Cricut Infusible Ink Tee idea

cricut infusible ink gifts, easy gift ideas, custom t-shirt gift ideas from kids, easy gifts to make with kids, DIY kids, circt gift ideas

25 Personalized Gift Ideas you can make with your Cricut!

25 DIY PERSONALIZED GIFT IDEAS THAT ANYONE CAN DO WITH THEIR CRICUT