I truly can’t believe halloween is less than 2 weeks away! We LOVE making costumes for halloween and I get so excited figuring out what we will be. I am still taking advantage of Layla and now Edie wanting to dress up with me, so I wanted to share some cute and easy mommy and me halloween costumes as well as share the costumes we ended up going with for this year!
CHECK OUT 5 CUTE AND EASY MOMMY AND ME HALLOWEEN COSTUMES BELOW!
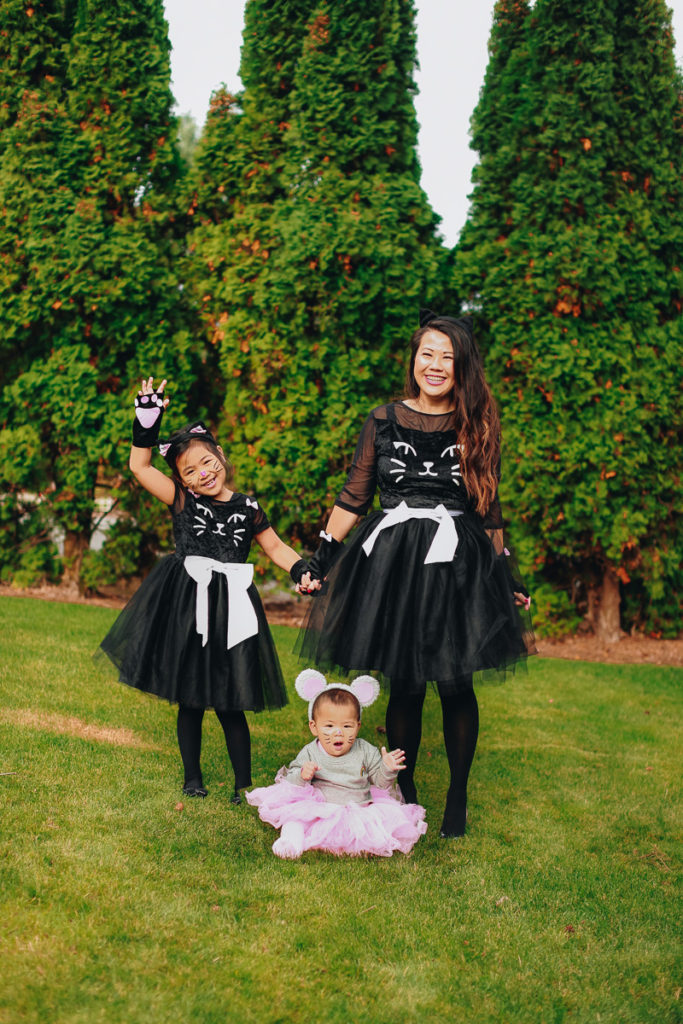
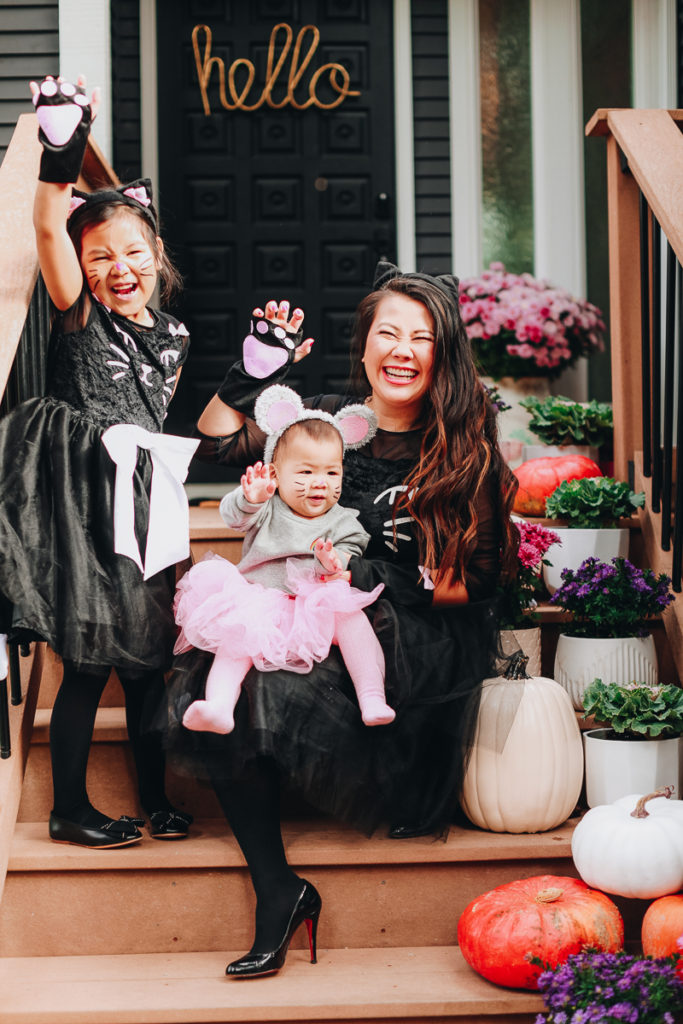
#1 CAT AND MOUSE COSTUMES
Layla really wanted matching mommy and me costumes. I found these black cats that were perfect for us as Layla LOVES to dress up and anything with a tutu is totally up her alley! So I decided to make Edie into a cute mouse! You can shop my black cat dress costume, and Layla’s kids cat tutu costume. Edie’s outfit is this tutu and sweatshirt (use my link to get 10% off your order!).
I bought the ears from a craft store but I found some similar on Amazon below!
This costume would be so easy to DIY as the simple face paint and ears really complete the whole costume! Any cute dress or tutu makes the perfect addition and you’re ready for trick-or-treating.
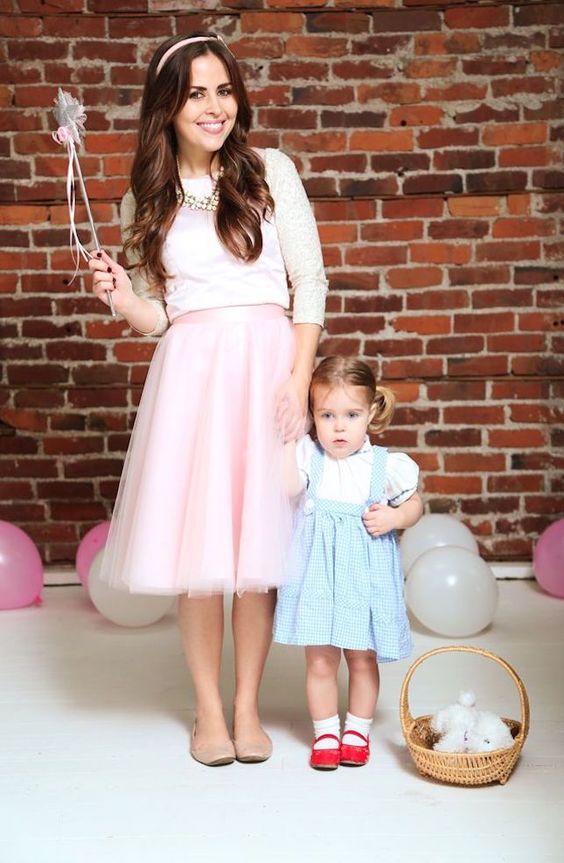
I thought this mother and daughter Dorothy and Glinda costume was just adorable! This iconic duo is a great match for a mother and daughter pair but you could get the whole family involved as there are so many recognizable characters from the Wizard of Oz!
I can’t handle how cute this little sheep costume is! Perfect for your mini, and the Bo Peep costume would be another easy DIY if you were in a time crunch. Just a midi skirt, gingham top and braids and you’re good to go!
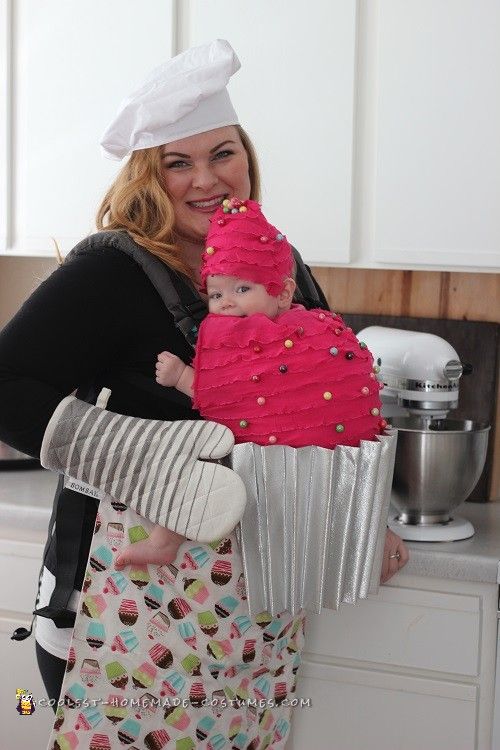
I had to share these adorable baker and cupcake costumes!! This is SO creative and really perfect if you have a newborn baby that you can still hold in a baby carrier. Check out the details to recreate this DIY here.
We are big Disney fans so when I saw this idea to dress up as Cruella De Ville and a Dalmatian I just loved it! The Dalmatian costume is perfect for infants to older kids, and again it would be so easy to DIY the Cruella costume as all you need is a black dress and temporary hair paint or a wig!
What are you dressing up as for halloween? Any great mommy and me costume ideas you have? Share with me in the comments!
Looking for more halloween costume inspiration? Check out the posts below:
I love decorating my home for holidays but I don’t love to spend a lot of time or money. My trick is to create small areas in my home that I can decorate with a few key items that are festive for the holiday and I try to DIY a lot of it myself!
I also try to keep it in line with my current home decor so I like to keep it modern, but fun as well.
Easy DIY Modern Halloween Decor
My necklace wall is one of the first things you see when you walk into my home and I don’t like to change too much for the decor. I went on a hunt to find a pink pumpkin and luckily found this cute one that fit right in!
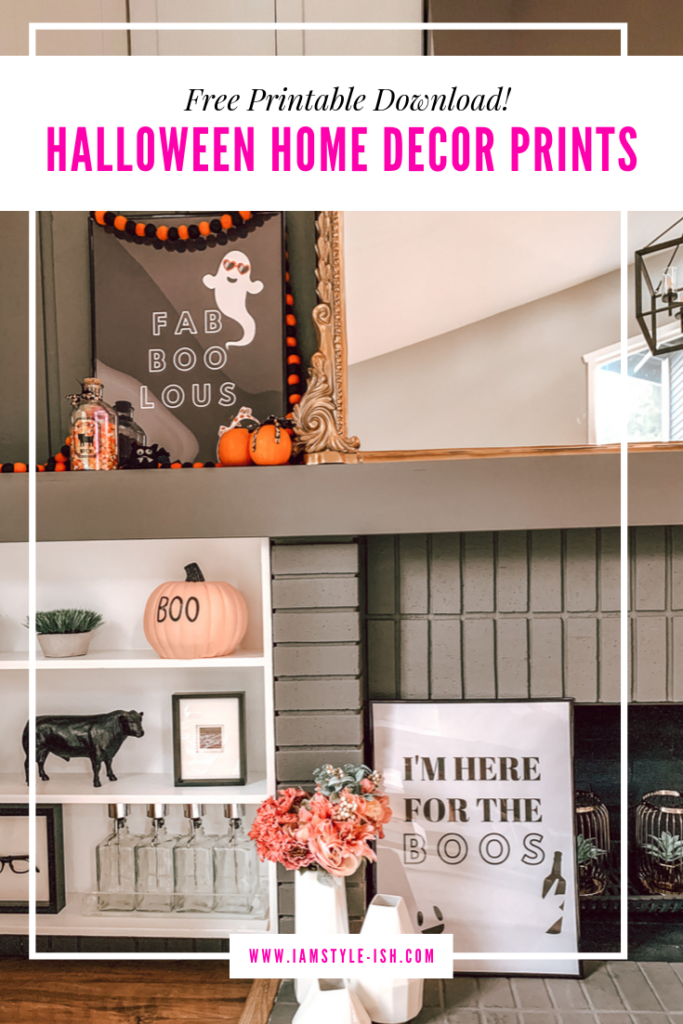
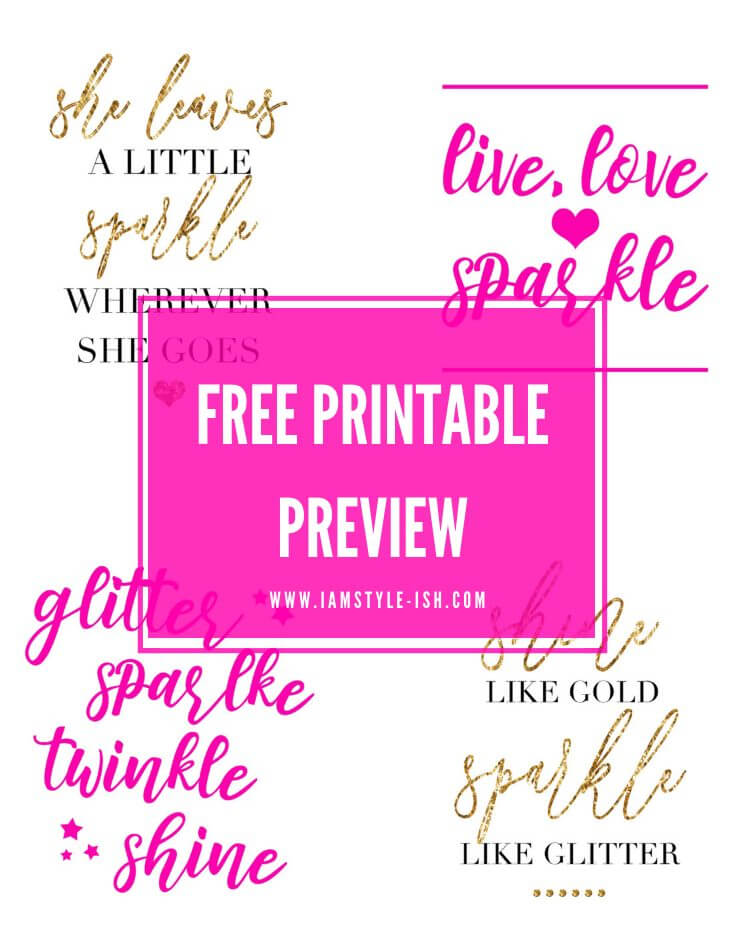
One thing that I always do is to add a few prints to my decor that are funny and cute. It’s such a simple and easy way to decorate and it doesn’t cost a lot! Keep scrolling below to get this printable for FREE and I’ll share how I printed it too!
Girly Glam Halloween Decor
It’s easy to decorate your bookcase with some touches of halloween. I loved that I found these pastel pumpkins but you can also DIY it yourself if you get acrylic paint and paint over either real or craft pumpkins.
Since I was trying to go for a more “glam” halloween look I went with this sparkly skull and the silver pumpkin. Aren’t the bats adorable? Those are handmade by my mother in law!
Simple and Modern DIY Halloween Decor Ideas
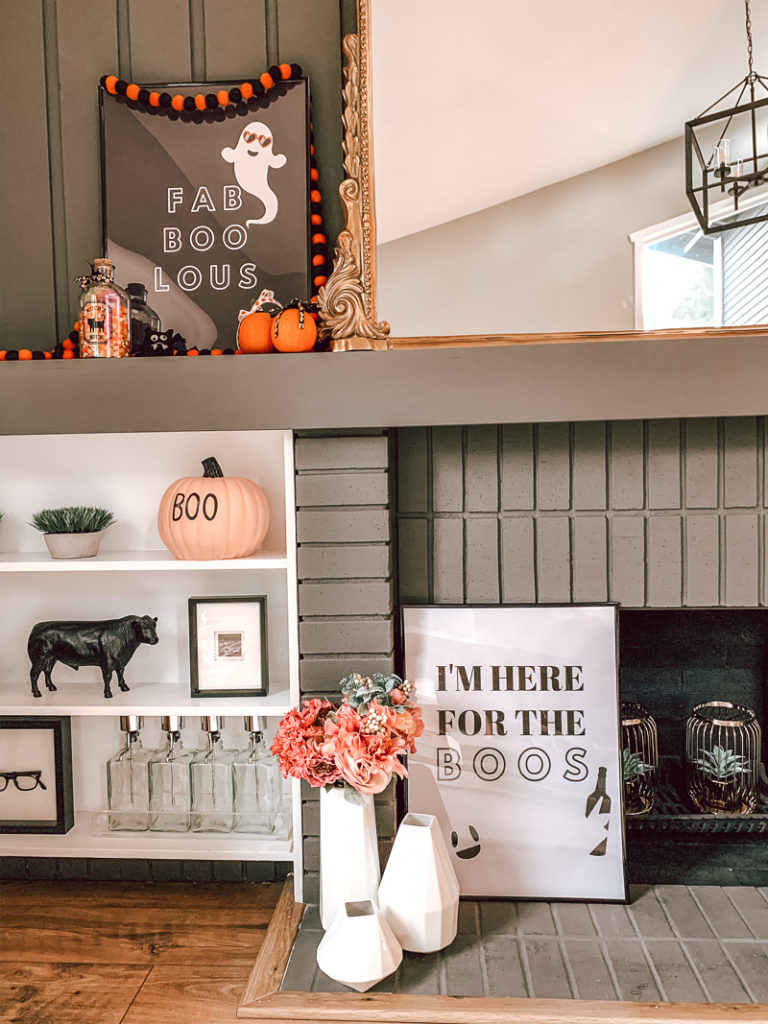
Here’s a peek at my fireplace! I love that it’s just the right amount of Halloween and not overwhelming.
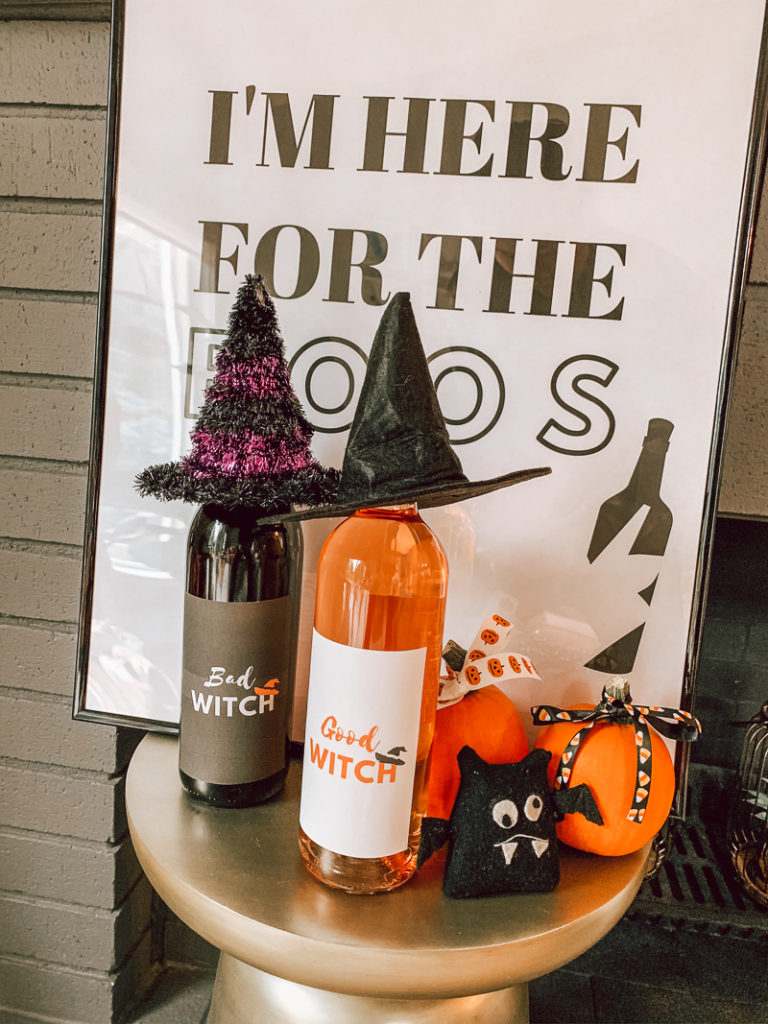
Even the smallest touches can make a difference. I put halloween ribbons on the little pumpkins and found a cute halloween jar at the craft store and filled it with candy corn. I also found the felt ball garland at the craft store and since I bought everything a little later in the season, everything was 60% off!
I just love both the prints as I wanted to keep them simple and to the point. They also make for really great Halloween party decor!
I made these a bit bigger so that they can print up to 18×24 inch print size, which is the size in my photos here. If you want to print them on your printer at home, you will be able to print them out on regular 8.5 x 11 paper.
How to get large prints for cheap
Getting large photo prints can be expensive so to save money, I sent my files over to Staples and got the white one printed as an engineering print. Because of the way those print, it costs way less than if you sent it as a photo print. It was only $2.99! The black one can not be printed as an engineering print but the sales associate was very helpful and recommended a poster print that cost about $9. $12 for two large size prints is not bad at all!
And since these are just temporary, you don’t need to buy expensive frames for them. I picked up ones similar to these frames that are less than $10 each!
Enter your info below to get both prints emailed to you!
.
Have fun and if you use them, tag me on social media (@tiffanyish on instagram) I would love to see!
Valentine’s day is next week and I always love to plan some fun and easy Valentine’s Day crafts for Layla and I to do together to celebrate. It is something that we both enjoy that gets her excited for the holiday and just makes the whole day feel really special. I can’t wait for Edie to be able to join in on the fun! Today I am sharing a few different easy Valentine’s Day crafts ideas that you can do with your kids to help spread the love!
Easy Valentine’s Day Crafts for Mom and Kids
#1 DIY Lemonade Labels (FREE printable download)
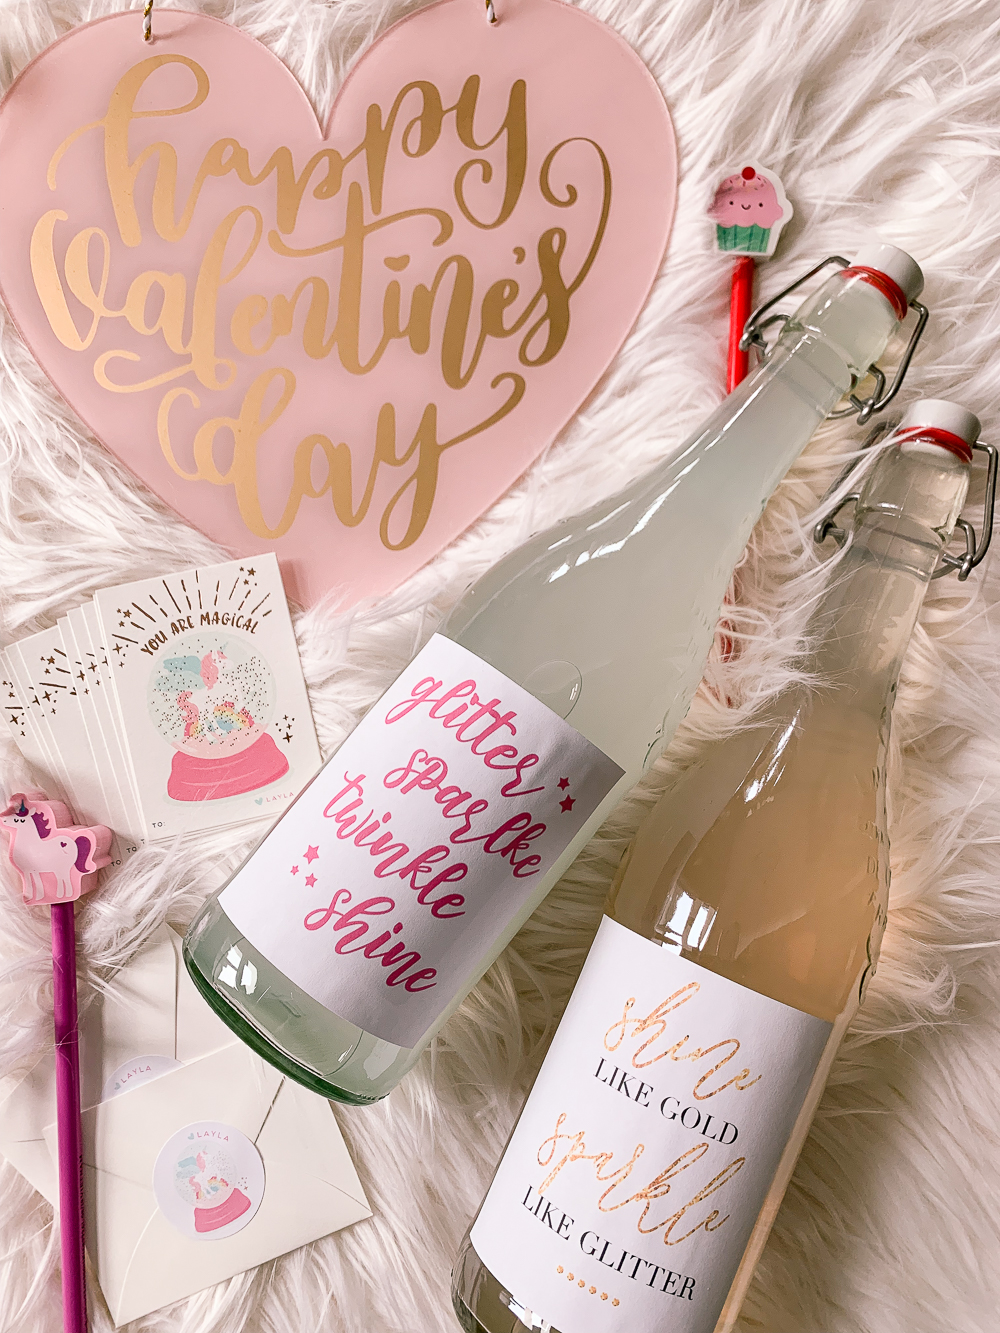
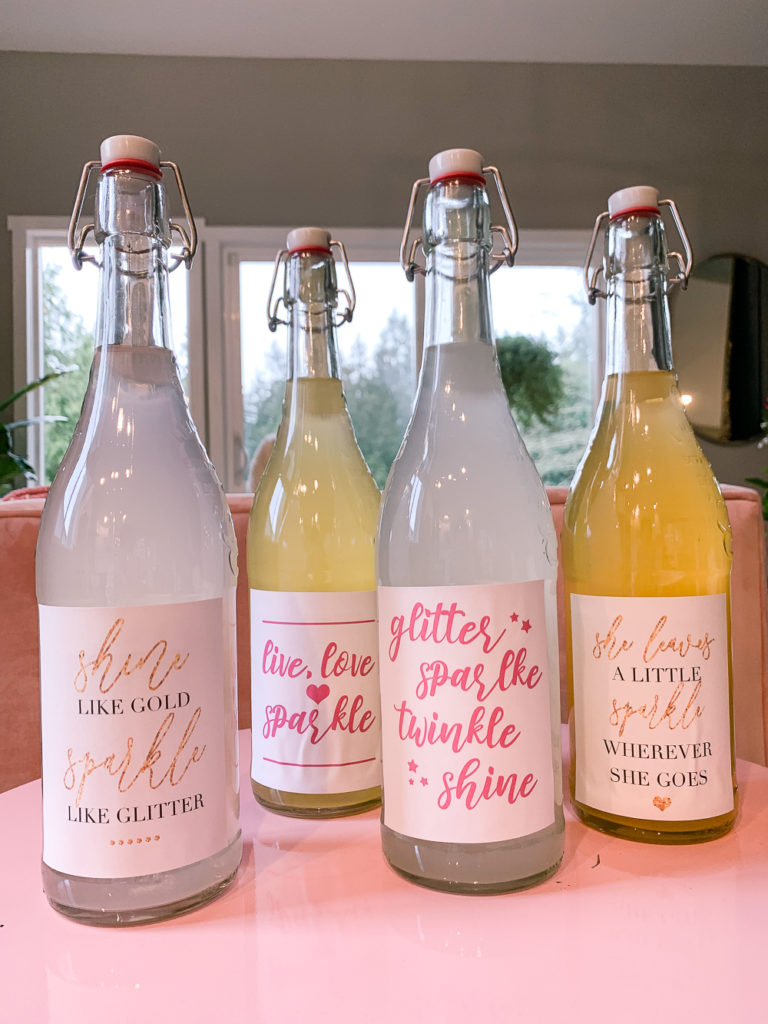
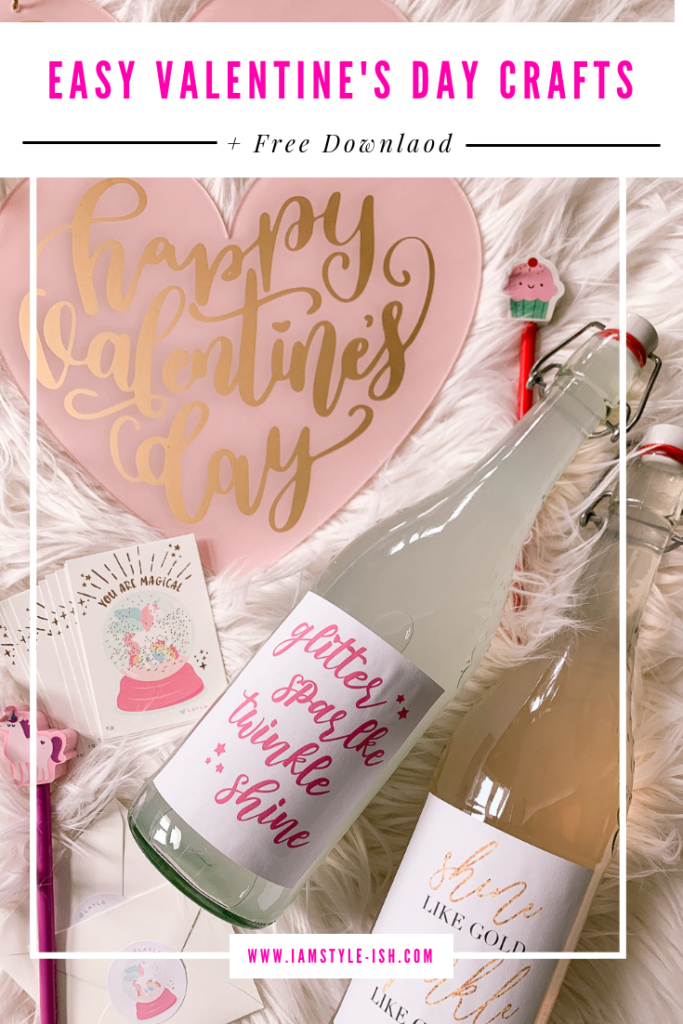
Planning a fun V-day get together for your mini and some friends?! I created these lemonade bottle labels that are perfect for that! They are so fun and festive and really easy to put together. All you need is a beverage in a bottle (we love sparkling lemonade) and to download the FREE printable labels below!
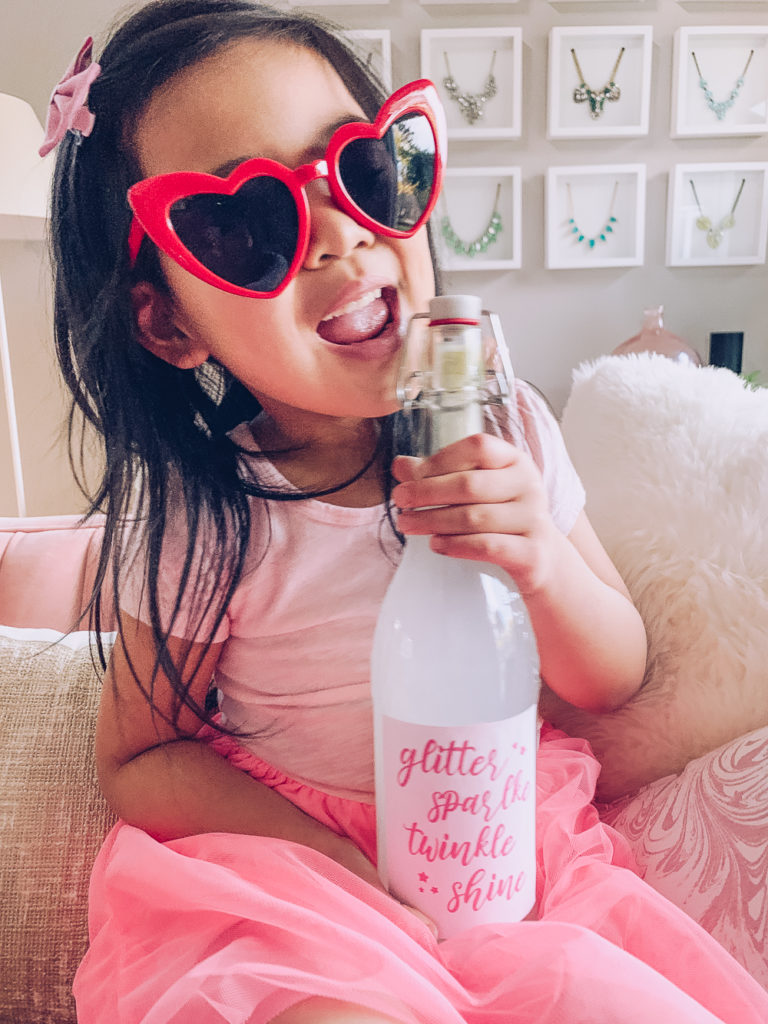
Layla loved helping me stick the pretty labels to the bottles!
FREE LEMONADE LABEL DOWNLOAD
Get the FREE printable lemonade labels here, just enter your email below and I’ll send the labels over straight to your email!
These labels are fit for 4’x5′ labels. I used the Avery 8168. There is enough room for you to trim them to fit your bottles if the body of the bottle is a bit shorter.
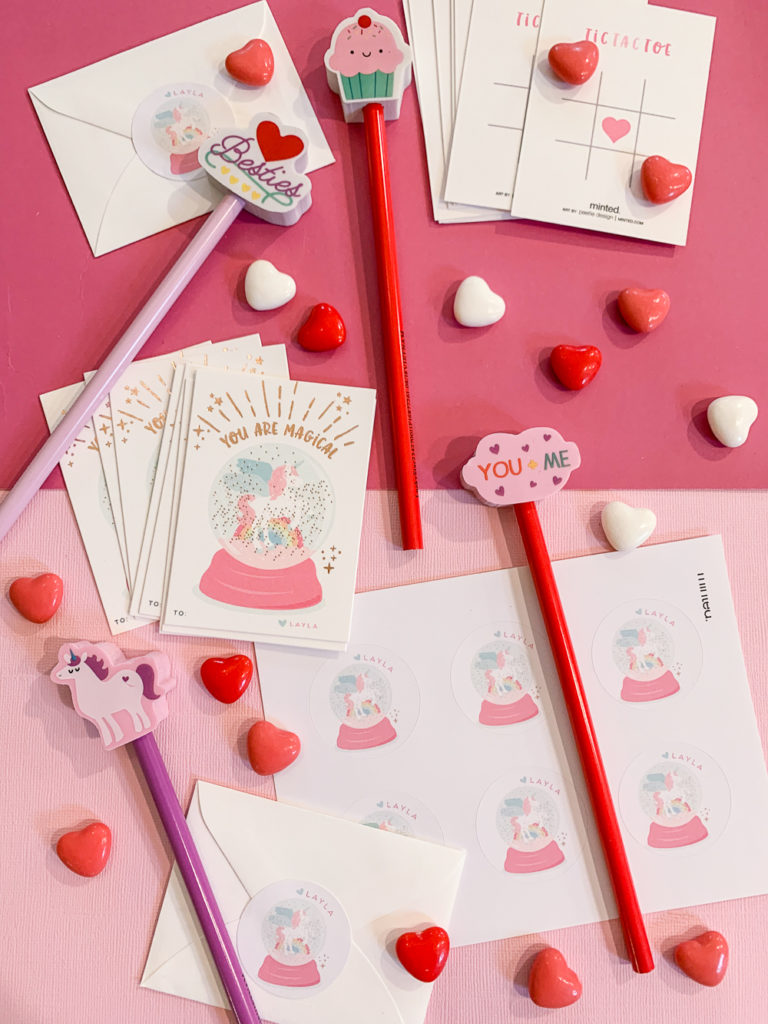
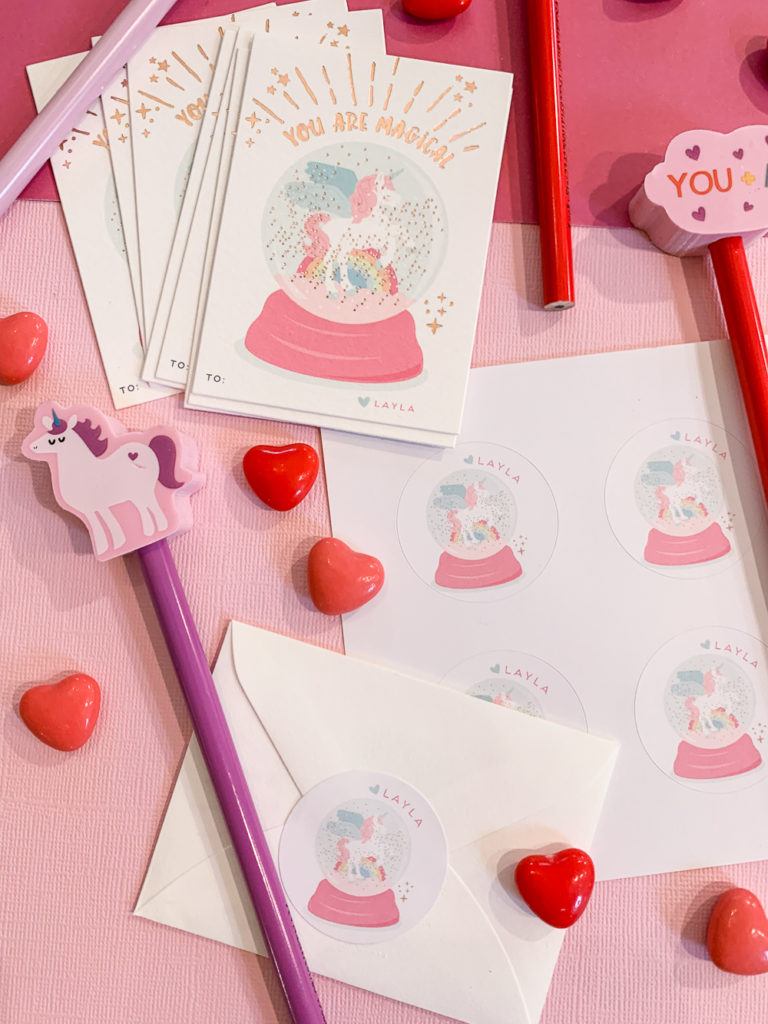
I always loved exchanging Valentine’s in school and Layla loves it just as much as I did. I found these adorable glitter unicorn cards from Minted and I thought they were perfect for her to exchange with her friends. Pencils and erasers are a fun and inexpensive gift to hand out with the cards!
They even offer fun personalized stickers to steal the envelopes! Such a sweet touch that she just loved.
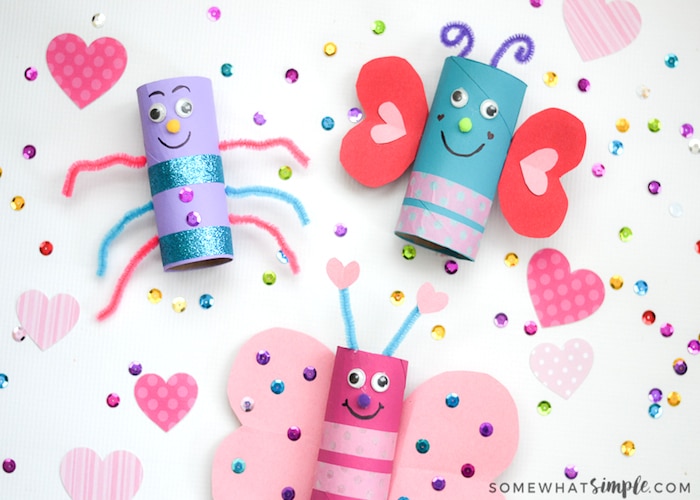
I love finding crafts that Layla can use her own imagination and creativity to do. I saw these adorable DIY Love Bugs that I know her and her friends would love to make together.
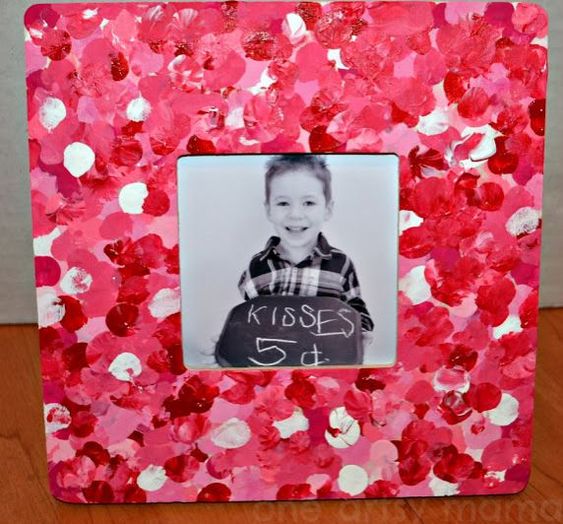
Pictures are such a thoughtful gift and how adorable is this DIY finger-print frame idea?! This would make a wonderful surprise for grandparents or a great keepsake for years to come.
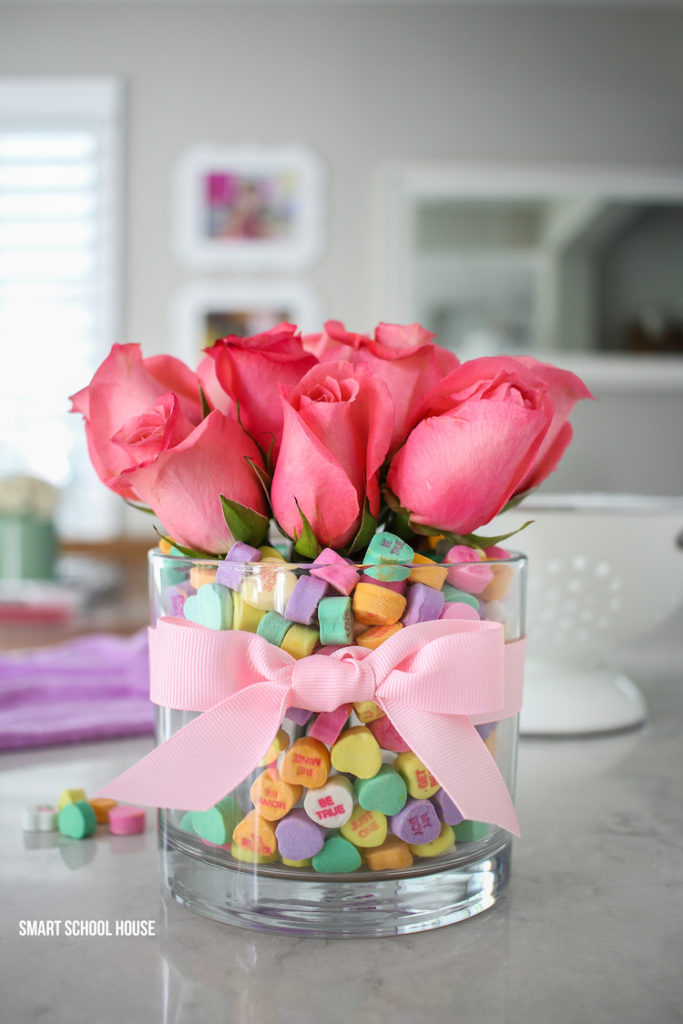
This last idea is super simple but still so fun and festive. I love candy hearts and they really are so pretty when used to fill a vase full of flowers!
Your kids will love filling the vases (and snacking) on the candy, and it doubles as pretty decor for you! For more details on how to create your own visit here.
Have fun and if you use them, tag me on social media (@tiffanyish on instagram) I would love to see!
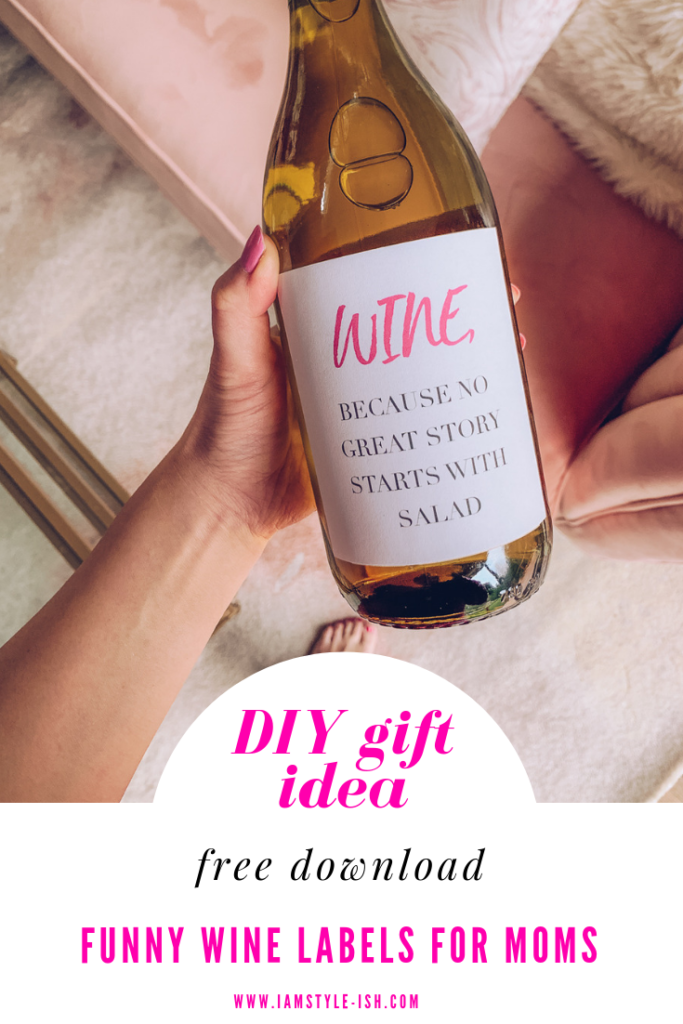
And don’t miss out on my free download for moms! They make for a fun Galentine’s day gift!
Can you believe it is almost Halloween? I always love dressing up for Halloween with my daughter and with the baby also coming so soon I am trying to plan ahead this year. We love to get creative and make our own costumes, so I wanted to share a couple of cute DIY options.
My best tips for DIY Costumes
My two biggest tips when it comes to DIY costumes is first to check what you have already, as often times you may have some items that will work already in your closet and in your craft supplies. And the second tip is that if you make the main part of costume fairly simple and really focus on fun accessories, it cuts the time and cost down a ton!
Check out 7 cute and simple DIY halloween costumes below.
DIY Mommy & Me Unicorn Costume
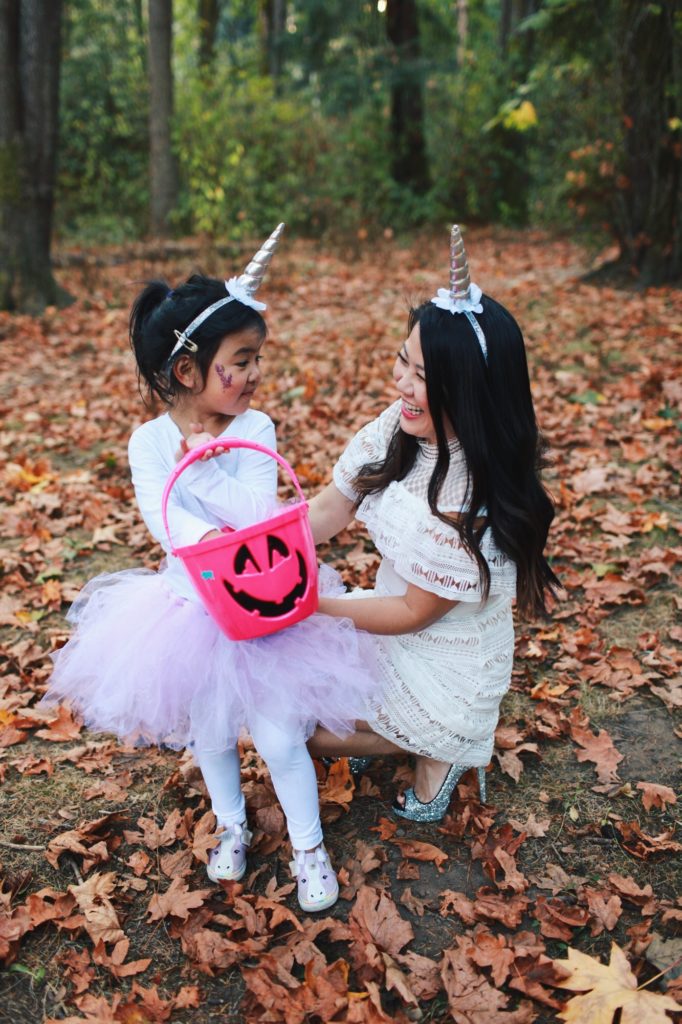
My daughter is obsessed with unicorns so I knew I had to make our own unicorn costumes. Making the tutu myself took the longest out of the entire process and even that was very simple to do. The main requirement was lots of glitter and we found cute horn headbands to match which brought it all together. My daughter LOVED wearing this and I thought both looks turned out so pretty! Find the step by step directions to make them here.
DIY Snow White Costume
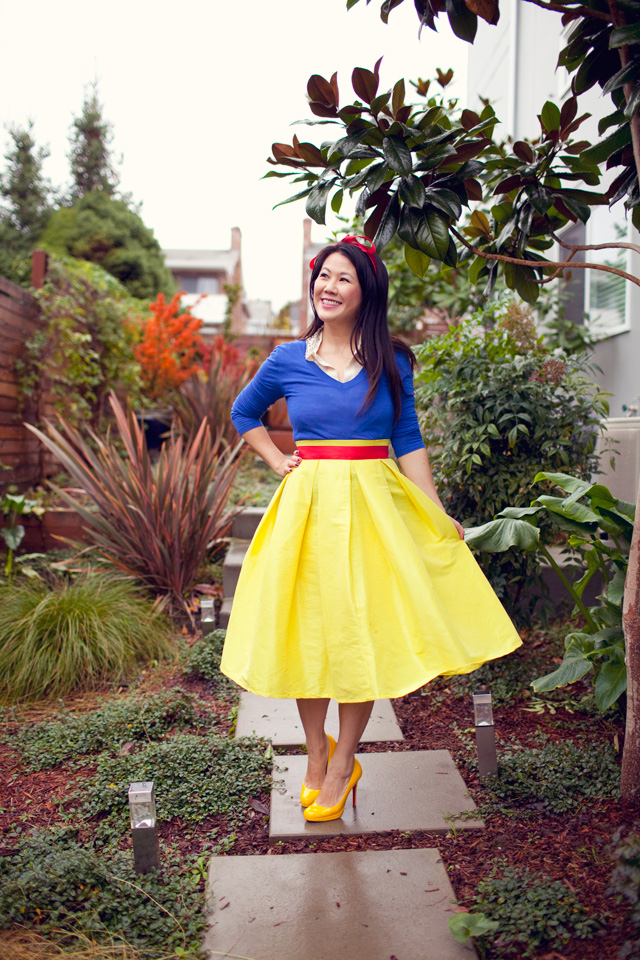
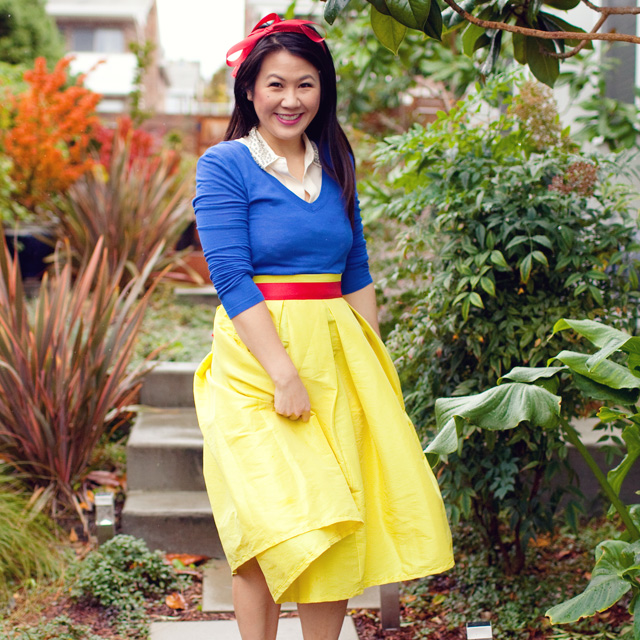
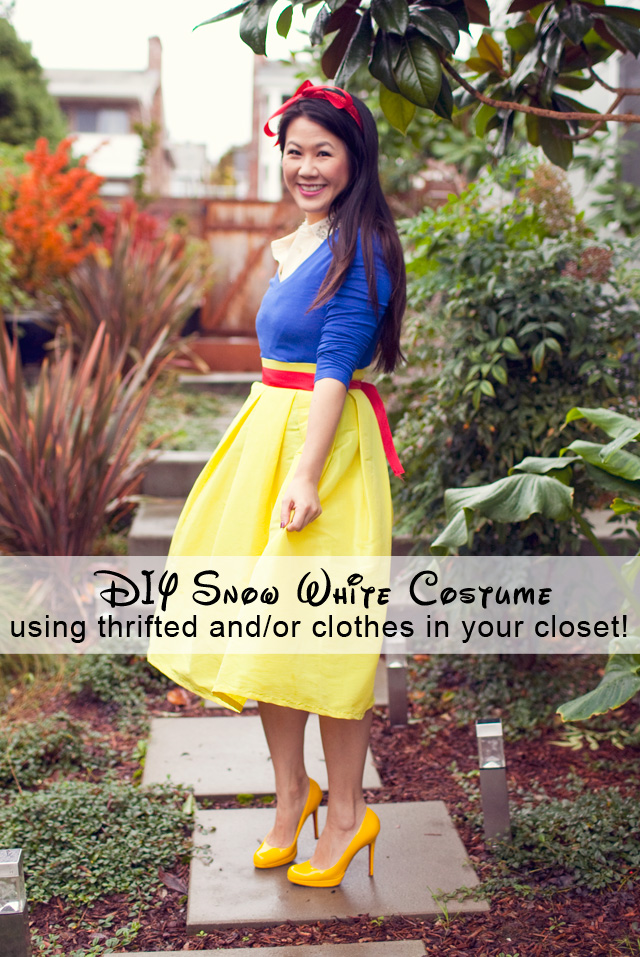
I am obsessed with Disney princesses and when I was looking through my closet this yellow midi skirt jumped out at me and I knew it’d be perfect for a Snow White costume. Since I already had the skirt, I went to the thrift store to find the rest of the items I needed and was able to create this costume for under $20! Thrift stores are a secret weapon for DIY halloween costumes and really make it easy to create something cute AND affordable. Head here to find directions to make this costume yourself!
DIY Mommy & Me Strawberry and Banana Costume
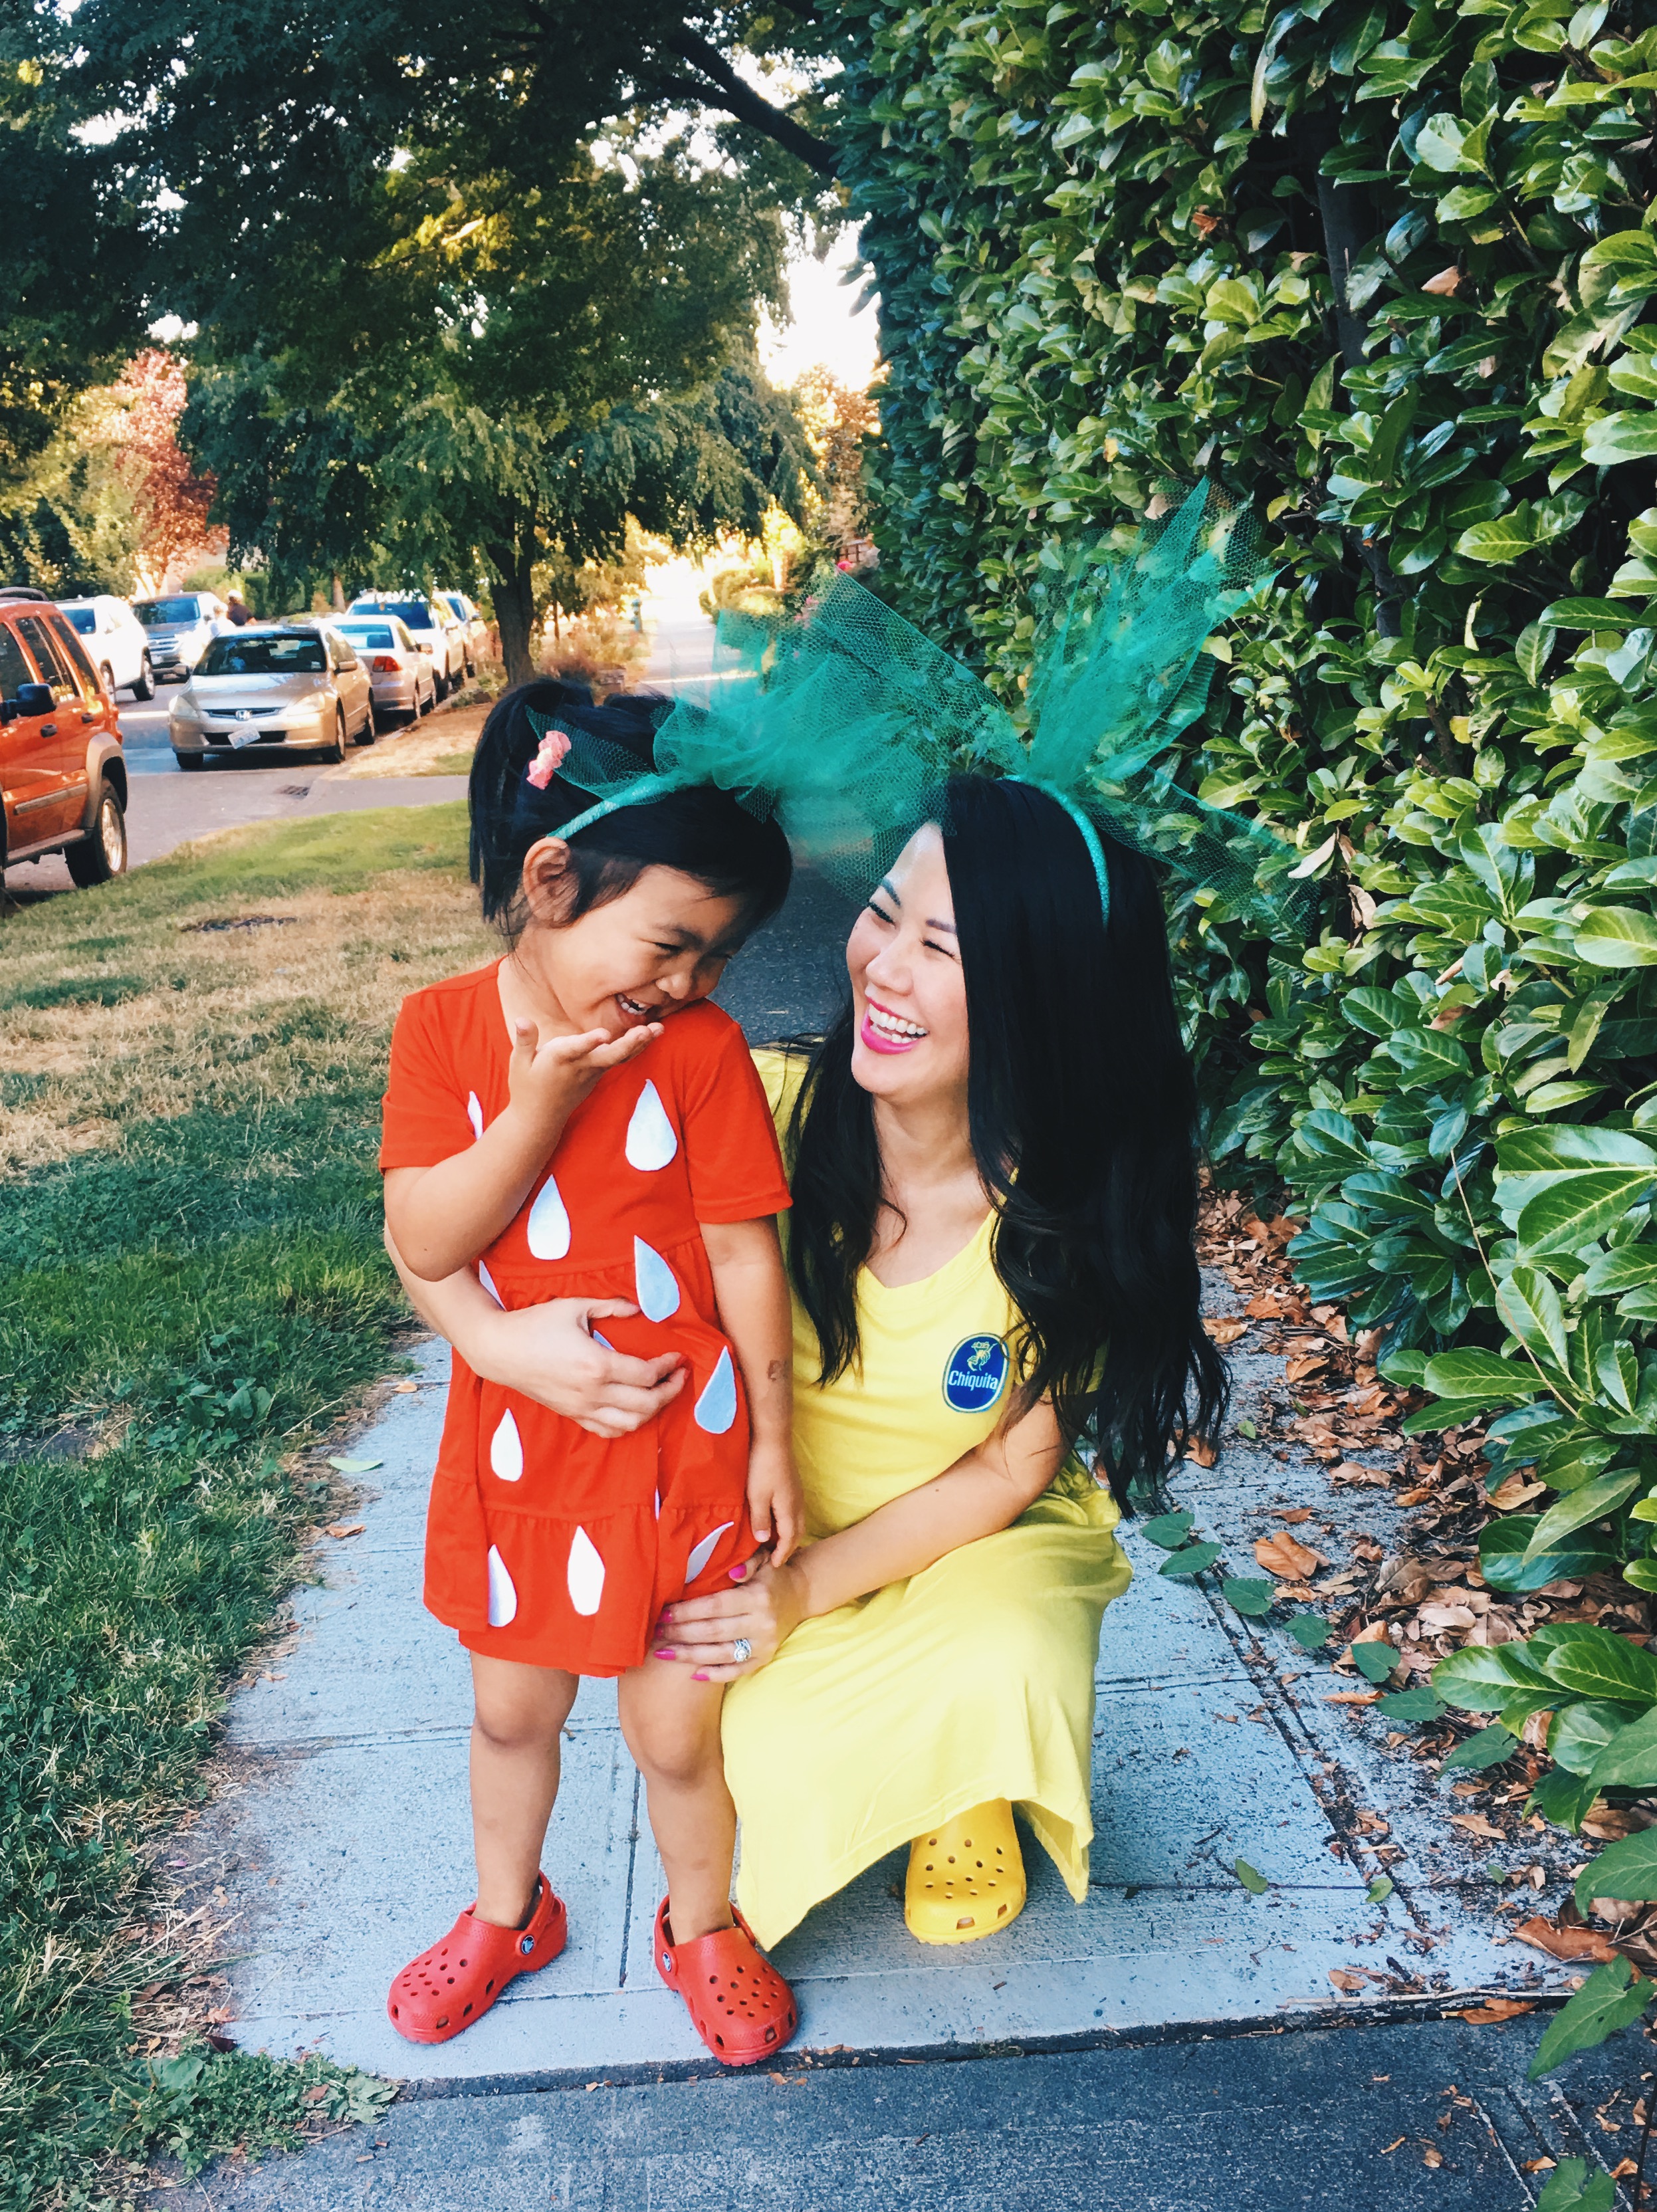
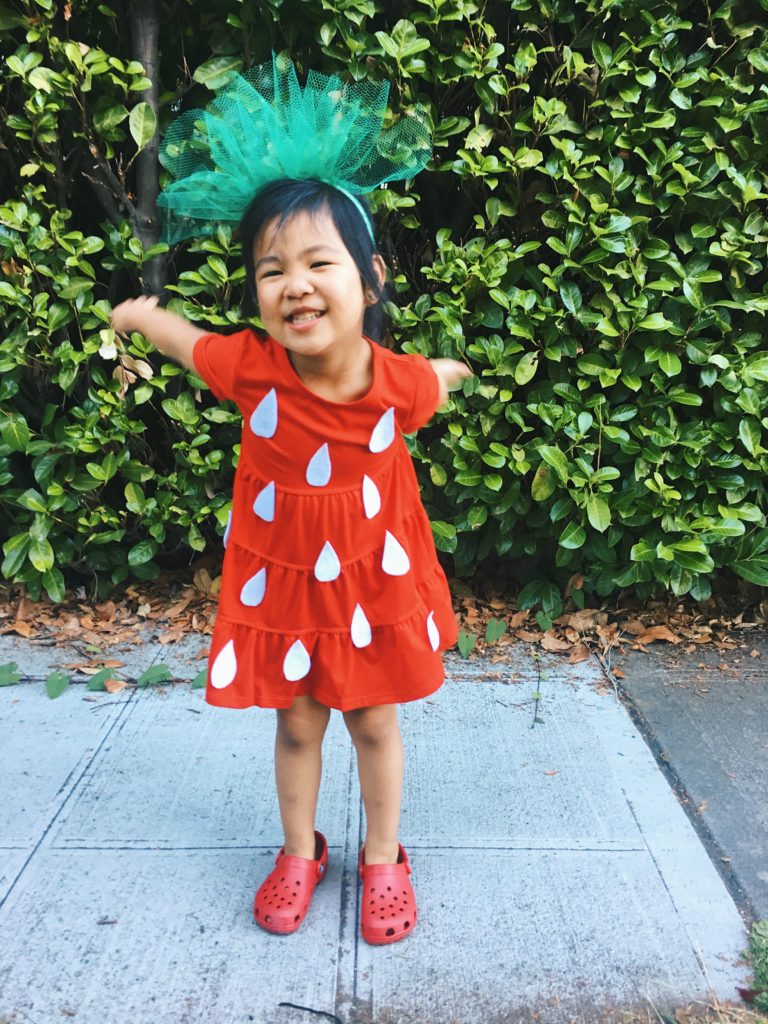
Another cute mommy and me idea! These strawberry and banana costumes were so easy to make (took under 30 minutes) and were so comfortable, which was a win win for us. These are a great option if you need something last minute and you can get creative and do any kind of fruit! Find the step by step directions to make them here.
DIY Minnie Mouse Costume
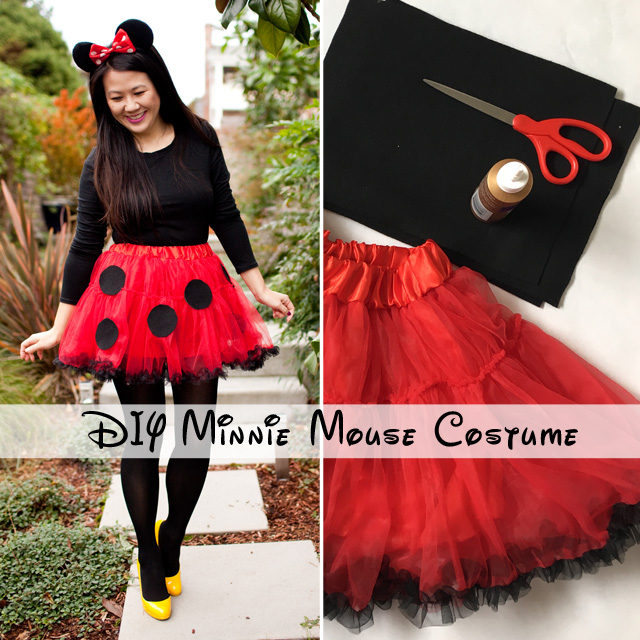
My daughter loves Minnie Mouse so this costume was a no brainer for me. This is by far the easiest DIY costume I’ve done as I only needed to get the tutu, ears and some felt to complete it. This took me less than 10 minutes to put together and really is the perfect option for a last minute costume if you’re in a rush. Find the step by step directions to make this costume here.
Easy DIY Costume Inspirations
I am always looking for inspiration so here are a few more ideas I’ve seen that are on my list to try!
DIY Bubblegum Costume
If you don’t know about Studio DIY you need to go check it out ASAP. The site has so many DIY ideas and tutorials and everything is SO CUTE. I saw this DIY Bubblegum Costume and thought it was amazing so I had to share. Check out all of the details and a full tutorial here.
DIY Tinkerbell Costume
I love following along with Courtney from Color Me Courtney and her DIY Tinkerbell Costume turned out amazing! I adore how she added the pom poms to her heels – it’s such an easy detail that really adds so much to the look. Head here to see directions to make this yourself.
DIY Ice Cream Cone Costume
I saw this DIY Ice Cream Cone Costume on Treasures and Travels and thought it was just adorable. I love the sprinkles and this would be so fun to make in a mini version if you have a daughter too! Find the step by step directions to make it here.
Let me know if you make any of these costumes as I would love to see! Hope you have a fun Halloween!
I’m excited to share another fun DIY Mommy and Me Halloween Costume! We are going to a few costume parties as well as trick or treating so my daughter will get to dress up as something different for each occasion. I don’t usually do so many costumes, but I just happened to have the right things to create all the costumes so it worked out well and this one only took about 30 minutes to make!
DIY Strawberry and Banana Mommy and Daughter Costume
For a very easy (and last minute if needed!) costume is our strawberry and banana mommy and daughter costume! I just thought this was very appropriate for us as my daughter and I are the biggest fruit lovers around.
SIMPLE DIY STRAWBERRY DRESS AND HEADBAND
I ordered the dresses and used white felt to cut out the strawberry seeds and then used stiff netting and wrapped them around headbands to create some cute fruit toppers!
The final touch to my costume of course was the Chiquita Banana sticker! I just found an image on the internet, enlarged it and printed it out!
SIMPLE AND COMFORTABLE DIY HALLOWEEN COSTUMES
One of the big reasons why I love this costume is just how darn comfy it is! These knit jersey dresses are so comfy and add in the crocs and I’m like – oh man I could wear this all day! 🙂 Probably not the costume we’ll go trick or treating in (I can’t wait to show you that costume!) but this will be great for some of the indoor parties we will be going to.
Hope you have a fun halloween! Let me know if you make any of the costumes, I would love to see!
Can you believe it’s almost halloween? I’m proud that I’m actually ahead of the game this year which is why I’m sharing this DIY unicorn costume tutu! The past few years my daughter has been happy with being Minnie Mouse or a Disney Princess so we just headed to the Disney store for her costumes, but this year, she had several ideas that required me to be a bit more creative.
EASY DIY UNICORN COSTUME FOR MOMMY AND DAUGHTER
She’s been obsessed with unicorns, as well as all her friends (every birthday party we’ve been to lately is unicorn themed, including hers!) and I knew I wanted to make the unicorn costume. I’m also realistic and know that I don’t have that much time nor did I want to spend a ton of money so I wanted something easy to make and comfy for her to wear. This costume fit all that criteria!
DIY UNICORN TUTU COSTUME
I got the idea to make a DIY unicorn tutu and it turned out so cute! You really don’t need many supplies and the part that takes the longest is dyeing the tulle but everything else comes together so fast! I didn’t want to buy the tulle skirt as I wanted to glitter it and didn’t want to spend a lot of money on a skirt that she probably would just wear for the costume.
I partnered with Rit Dye on my instagram and they had sent over a few bottles of dye that I could use. I’ve never dyed tulle before so I was a bit nervous but the project was a lot easier than I had anticipated!
Measure your child’s waist and how far down from the waist you want your tutu to fall.
For the ribbon –
Take the measurement of the waist and then triple it and then add 6 inches. My daughter’s waist is 21 inches and I cut my ribbon 69 inches (21 x 3 = 63 + 6 = 69). Adjust as you need but this gave me the right amount of ribbon to be able to tie it on her waist easily.
Find the center of the ribbon by folding it in half and then measure out from there to get the waist measurement. So half of 21 is 10.5 so I measured that out from the center and then marked it with a pen. I knotted both spots that I marked so that the area in between should be the measurement of the waist.
For the tulle –
Take the measurement of how long you want the skirt to be and then double it. I measured 12 inches from her waist down so I cut my strips of tulle at 24 inches. If you buy the tulle on the spool like I did (rather than the the full yard of tulle like you get at the fabric store) it makes it go by faster. But if you do buy the tulle by the yard, just cut out 6 inch strips first before you cut the length of the tulle for the skirt.
I ended up cutting about 120 strips. Since I was dying my tulle different colors, I wanted to make sure that I had enough. Obviously this is going to be different for you depending on the waist measurement. I think I ended up using around 100 strips total and the skirt was quite full and fluffy.
Dying the tulle –
Follow the directions on the bottle depending on how much fabric you are dying. I filled up a big pot of water and put in half the bottle of dye and let it come up to a boil. Pull the pot off the heat and then put in the strips of tulle, I made sure that I pulled them apart and put them in one by one to avoid them sticking together and creating uneven spots in the dye. Continue stirring so that every piece would be covered and evenly dyed. With tulle it’s a bit hard to tell how much dye is getting on there as you pull a piece up and it basically is see through! I kept on checking and trying to figure out if it was pink enough. I ended up letting it soak for over 30 minutes with continual stirring. When I pulled it out it, it was a really pretty shade of light pink which obviously as you can see in the photo below, the dye makes it look like it will come out a lot darker! Do the same steps for the remaining colors that you want to dye.
Let the strips of tulle dry. I used our clothes drying rack (the one we have is huge so it fit all the strips perfectly) making sure to add plastic or newspapers underneath in case the dye drips. Luckily the tulle dries very fast so I could move on to glittering!
How to glitter tulle –
I used a mixture of glitter and modpodge – similar to my glitter everything tutorial – to add the glitter to the tulle. Lay the strips down on the floor (we had plastic covering on the floor to make it easier to clean up) and used a foam brush to paint the mod podge/glitter mixture on the tulle strips. I got my daughter involved in the process and she loved it!
Let the strips dry – I just placed them on the clothes drying rack so that they wouldn’t stick to each other. The next morning they were ready to go!
Fold the tulle strip in half and slide it underneath the ribbon. Make sure to start at the end that you knotted so you know where to begin/end. Loop the long ends of the tulle into the little loop that you had created and pull tight. This part is a bit hard to explain but if you watch this tutorial, it’s a lot more helpful! I alternated colors of tulle so that it would be a pretty mix. This process goes by fast once you get the hang of it. I think I made her skirt in less than 20 minutes.
Pop on the skirt to make sure that it’s the fullness that you like and add or take away strips of tulle as needed. The rest of the outfit comes together easily!
I wish you could see the colors and the glitter more as they don’t show in the photos but in person, it’s so pretty! I love the more intricate unicorn horns but my daughter always just takes off those kinds of headbands so these ones with the elastic are a lot better for younger kids. I added a bit of glitter to her face which was cuter in person than in photos 🙂
I didn’t end up making a tutu for myself, because, well, #momlife. You end up getting so busy but as long as your child has a cute costume that’s all that matters right? So I put on a white dress that I already own, my sparkly shoes and a horn to match with her! My daughter loves twinning with me so she was so happy to see me dressed as a unicorn too.
These unicorn shoes are one of her favorite shoes ever, she wears them so much. They are available here and come in pink too!
I did want to share with you how easy it was to just pop the tutu over my white dress and create a costume for myself!
I hope this tutorial helped! It really only took me one night and the results were so much better than I expected! I also spent less then $20 on everything so that was a definite win! I’ve got another mommy and me costume coming up soon so if you haven’t yet, subscribe to my newsletter to keep up to date on my posts!
I’m having a little too much fun with Halloween this year! In case you missed it, I shared my DIY Minnie Mouse costume last week, and today I have my DIY Snow White Costume!
I’m taking my daughter to a few different Halloween parties this year and I didn’t want to wear the same costume over and over again.
I also didn’t want to go with a premade costume, as I wanted to pull something together with stuff in my closet.
As I was perusing my closet, this yellow midi skirt jumped out at me and I looked at it and instantly thought “Snow White.”.
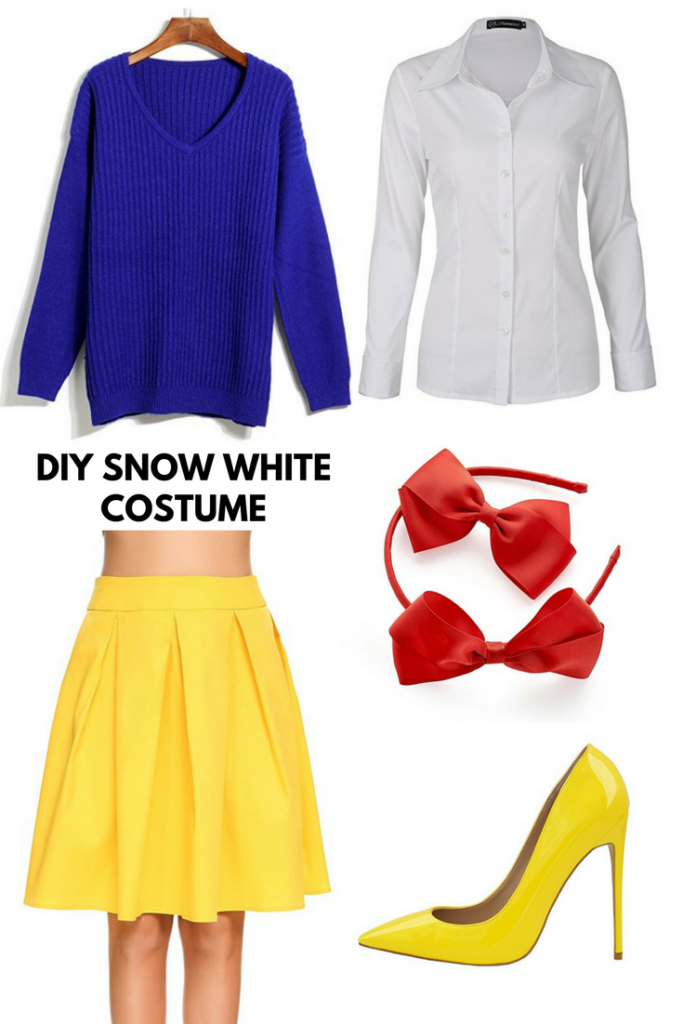
I added a blue sweater and collared shirt for the rest of the outfit.
For the final touch, I went to the crafts store and picked up red ribbon to add a big bow to my headband as well as a red belt.
I know Snow White doesn’t wear a red belt, but I liked the added touch.
The entire costume cost less than $20 since I was able to use items that were already in my closet!